

Key Takeaways
A sensible suspension upgrade starts with diagnosis and fitment, not a parts list. Work through the vehicle’s condition, intended use, installation requirements, and follow-up checks before committing to a setup.
- Diagnose worn parts before treating every ride concern as an upgrade problem.
- Confirm fitment using the exact model, year, trim, and current suspension configuration.
- Choose parts for everyday roads, passengers, and cargo—not just sharper handling.
- Plan for safe installation, alignment, and any vehicle-specific calibration.
- Recheck the suspension and tires after installation, then maintain them routinely.
Identify what your Chery needs
A Chery suspension upgrade should address a specific concern rather than change the car simply for the sake of modification. First, notice how the vehicle behaves over familiar roads and whether anything has changed over time. A new noise or sudden handling difference deserves investigation before parts shopping. A measured diagnosis can help distinguish worn components from a ride characteristic you may simply dislike.
Recognize signs of worn or unsuitable suspension
Repeated bouncing after a bump, clunks over uneven pavement, fluid on a shock or strut, or a vehicle that feels unsettled can all justify an inspection. None of these observations, by itself, identifies the exact failed component; tires, mounts, joints, and other parts may also be involved. Note when the symptom occurs and whether it affects one corner or the whole vehicle. That detail gives a technician a more useful starting point than a general request for a firmer ride.
Separate normal ride characteristics from mechanical problems
A firm response over sharp road edges may be a characteristic of the original setup, while a sudden change in ride or steering deserves closer attention. Compare behavior on the same route and at similar speeds, and consider tire pressure and tire condition before drawing conclusions. The useful distinction is between a consistent preference and a new mechanical symptom. Do not use an upgrade to mask a fault that has not been diagnosed.
Check your model, year, trim, and current setup
Suspension parts can vary across model years, trims, markets, and production changes, so a nameplate alone is not enough to confirm fitment. Write down the vehicle identification details and check the part catalog or supplier’s fitment information against them. If the car has already been modified, record those changes too. For example, the Chery Omoda 5 campaign coverage illustrates why owners should verify current vehicle-specific information rather than assume every version shares the same status or parts.
Review service history and any open recalls
Look through invoices and inspection notes for previous work, recurring alignment concerns, or replaced suspension components. Then check current recall and service-campaign information with an authorized source for the vehicle’s market and identification number. Online reports can prompt a question, but they do not establish whether a particular vehicle is affected. Keep safety campaigns separate from performance modifications, and resolve any applicable campaign before planning nonstandard parts.
Compare suspension upgrade options
The right change depends on what is actually causing the concern and what the driver wants to improve. Some jobs call for restoring standard function; others involve changing ride height or response, which can bring additional trade-offs. Before comparing brands or prices, understand what each part does and what else may need to change with it. A balanced decision protects ride quality as well as control.
Choose between replacement shocks and struts
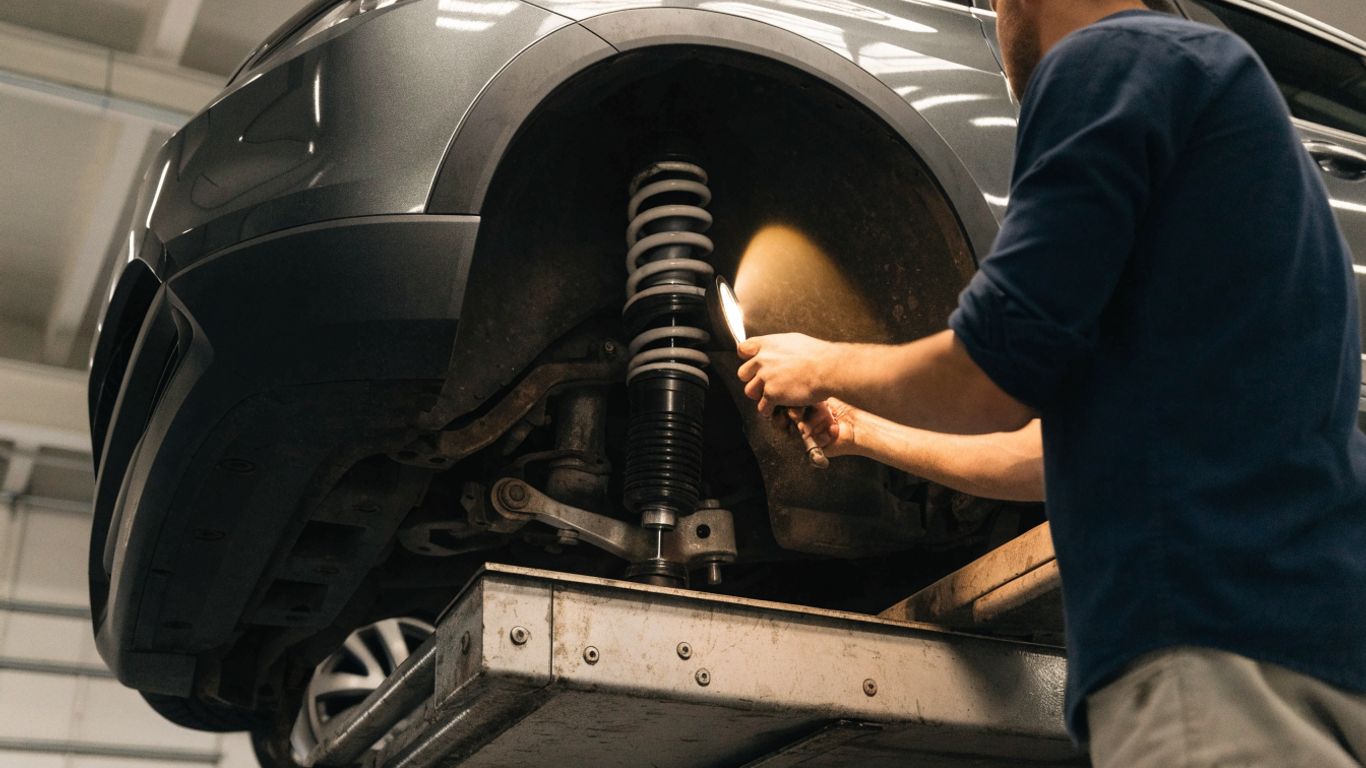
Shocks and struts control suspension movement, but they are not interchangeable terms for every vehicle layout. A replacement may restore damping when a unit is worn, while a different specification can alter how the car responds to bumps and body movement. Confirm the design used on the exact vehicle and whether the chosen part is intended as a standard replacement or a change in behavior. Replacing a worn unit with a suitable equivalent is often a more direct remedy than changing several components at once.
Consider springs, coilovers, and complete kits
Springs affect ride height and how the vehicle responds under load, while a coilover combines a spring and damper in a single assembly and may offer adjustment depending on its design. Complete kits can simplify matching components, but the kit still needs to be appropriate for the vehicle and intended use. The comparison below is a starting point, not a substitute for fitment checks.
| Option | Potential purpose | Check before choosing |
|---|---|---|
| Replacement shocks or struts | Restore damping or change response | Exact application and matching specifications |
| Springs | Change ride height or spring behavior | Load needs, travel, and compatibility with dampers |
| Coilovers | Combine spring and damping components | Adjustment range and installation requirements |
| Complete kit | Provide a coordinated set of parts | Included components, fitment, and required follow-up work |
A kit label alone does not guarantee a comfortable result. Match the components as a system, and ask what changes to ride height, travel, and alignment may follow before ordering.
Assess sway bars, bushings, and other supporting parts
Supporting components can affect how the suspension moves and how steering inputs feel, but replacing them indiscriminately can add cost without addressing the original concern. Have worn bushings, links, mounts, and joints assessed as part of the diagnosis. A sway bar change may alter the balance of body movement, so it should be considered in relation to the complete setup rather than as an isolated handling fix. The priority is a sound mechanical baseline before adding modifications.
Understand comfort-focused versus handling-focused setups
A softer setup may take the edge off rough surfaces but can allow more body movement, while a firmer one may feel more controlled yet transmit more impact into the cabin. Those are trade-offs, not a simple comfort-versus-safety scale. Think about the roads you actually use and the people who ride in the car, then ask how a proposed change affects both ride and control. Avoid choosing solely from a dramatic description or an image of a lowered vehicle.
Choose compatible parts for your driving needs
Compatibility is about more than whether a part can be bolted into place. The vehicle’s original configuration, the intended use, and the relationship between springs and dampers all matter. Keep the decision grounded in the way the car is driven most often, rather than an occasional ideal scenario. A well-matched setup is usually more useful than the most adjustable or aggressive option available.
Verify fitment for your specific Chery
Use the full model designation, model year, trim, market, and any relevant chassis or production details when checking a listing. Ask the supplier to confirm fitment if catalog information is unclear, especially when the vehicle has prior modifications. Confirm what the kit includes and whether additional hardware is required. Do not assume that parts listed for a related model or a different market will fit your vehicle.
Match spring rates and damping to everyday use
Spring rate and damping work together: springs support the vehicle and respond to load, while dampers control movement. A poorly matched combination may feel harsh, floaty, or unsettled, even if each part is presented as an upgrade. For daily driving, begin with the normal mix of city streets, highways, and passengers, then consider whether the proposed specification suits that use. Ask for clear application information instead of relying on vague claims such as “sport” or “comfort.”
Account for passengers, cargo, and road conditions
A car that feels composed when empty may behave differently with passengers and luggage. Think through the usual load and the road surfaces you regularly encounter before choosing a spring or ride-height change. A short decision list can keep those practical details in view:
- Note the typical number of passengers and amount of cargo.
- Describe the road conditions encountered most often.
- Decide whether comfort, reduced body movement, or standard ride height matters most.
- Ask how the parts may affect clearance and alignment.
Use those answers to evaluate the supplier’s fitment advice and expected trade-offs. If the proposed setup only suits rare driving conditions, it may not be the right choice for everyday use.
Check part quality, warranty, and local availability
Before ordering, confirm the part’s specification, included hardware, warranty terms, and return conditions. Ask whether replacement components are available locally and whether installation or alignment is included in the quoted cost. A broad content or retail site may also contain unrelated material such as a daily protein target, silk pillowcases, drone accessories, Chef Sakshi Ahluwalia, or website design; those pages are separate topics, not evidence of automotive fitment. Keep the decision focused on documentation for the exact suspension part and vehicle.
Plan a safe installation
Suspension work affects the vehicle’s contact with the road, so plan the job around correct procedures and suitable equipment. Some straightforward replacements may be within a qualified home mechanic’s abilities, but spring handling and vehicle-specific procedures can carry significant risks. Include inspection and alignment in the plan rather than treating them as optional extras. If there is any uncertainty about the work, get advice from a qualified technician before disassembly.
Decide whether professional installation is appropriate
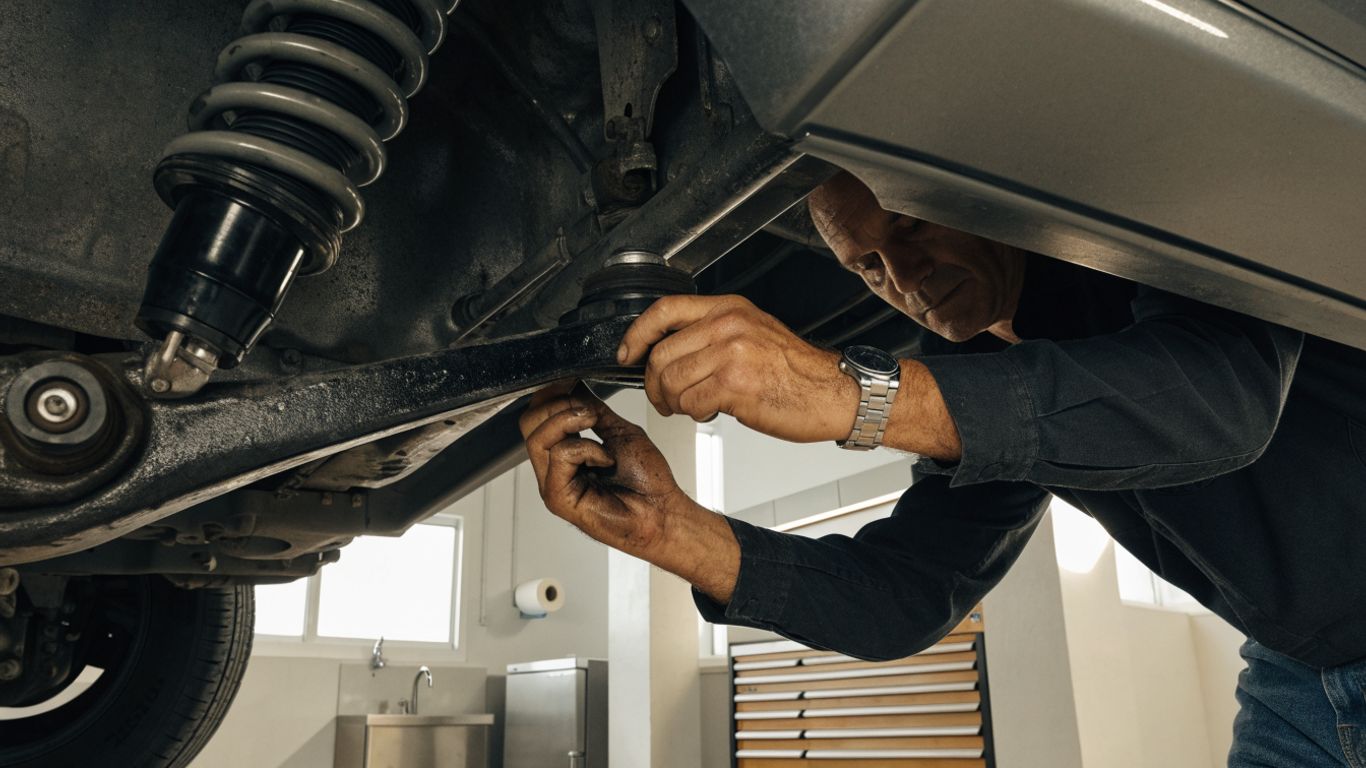
Consider the tools available, the complexity of the parts, and whether the service information for the vehicle is accessible. Compressed springs can store substantial energy, and incorrect handling can cause injury or damage. A professional shop can also identify related wear while the suspension is apart. Choose a technician familiar with the vehicle’s suspension layout when the job involves unfamiliar procedures or substantial changes to the original setup.
Inspect related suspension and steering components
Before fitting new parts, inspect mounts, bushings, ball joints, links, tie-rod ends, and other related components for damage or excess wear. Replacing only the visible problem may leave a second fault that continues to affect handling or create noise. A written inspection makes it easier to distinguish necessary repairs from optional upgrades. Resolve defects that affect safe operation before judging the performance of new parts.
Replace parts in balanced pairs when recommended
Replacing components in pairs can help preserve predictable behavior across an axle when the parts are designed to work as a matched set. Follow the part maker’s instructions and the vehicle’s service guidance rather than applying a blanket rule to every component. If one side has failed, inspect the other side and assess whether its condition or age warrants replacement too. Record exactly what was installed so future service and troubleshooting are straightforward.
Budget for alignment and any required calibration
Changes to suspension components or ride height can affect wheel alignment, so include an alignment check in the total cost. Some vehicles may also require additional procedures after related work; confirm requirements for the specific model rather than assuming. Ask the shop to provide the before-and-after alignment results and explain any readings that cannot be adjusted to specification. A realistic budget helps avoid finishing the mechanical work but postponing the checks that complete it.
Evaluate the upgrade after installation
The first drive is not the only measure of success. Check the finished installation, then test the car in familiar conditions and pay attention to changes in ride, steering, and noise. A controlled, gradual evaluation is more useful than immediately pushing the vehicle hard. Keep the installation record and any alignment report for comparison later.
Check ride height and clearance
Park on level ground and compare the vehicle’s stance from side to side, allowing for normal differences in fuel and load. Check that the tires and suspension have clearance through the expected range of movement and that nothing contacts the body or surrounding components. If the ride height is uneven or a wheel appears unusually positioned, return to the installer for inspection. Do not treat an unexpectedly low stance as proof that the upgrade is working correctly.
Get a four-wheel alignment
Have alignment checked after suspension work that can affect geometry, using specifications appropriate to the vehicle and setup. The technician should assess all wheels, not just adjust the front by assumption. Keep the printout, since it provides a useful baseline if the car later begins to pull or the tires wear unevenly. If the requested setup cannot be brought within suitable limits, ask what component or modification is responsible.
Test for noise, vibration, and uneven handling
Start with a gentle drive on smooth roads, then use familiar uneven sections at moderate speed. Listen for new knocks or squeaks, notice whether the steering returns and tracks consistently, and check for vibration. A routine SUV suspension maintenance guide can also help frame ongoing checks, though any new symptom after installation should be assessed on the vehicle itself. If the car feels unstable or makes a persistent new noise, stop testing and have the installation inspected.
A short video can help explain general suspension principles, but it cannot confirm the condition or fitment of a specific vehicle. Use it as background, then rely on inspection, service information, and measured alignment results for decisions about the car.
Recheck fasteners and components after initial driving
Follow the installer’s or part maker’s instructions for any post-installation inspection; do not retighten fasteners by guesswork. Check for signs of movement, contact, leaks, or looseness at the interval they recommend. If a noise or handling change develops, report when it occurs and under what conditions. Early follow-up can catch an installation issue before it becomes a larger repair.
Maintain the upgraded suspension
An upgraded suspension still needs routine attention, and its service needs depend on the parts fitted and the way the vehicle is used. Keep records of inspections, repairs, alignment checks, and tire changes so patterns are easier to spot. A modification does not remove the need for the vehicle’s regular maintenance schedule. Treat changes in ride or steering as useful information, not something to ignore because the parts are new.
Follow inspection intervals for shocks, struts, and bushings
Use the vehicle service schedule and the component maker’s guidance as a baseline for inspections. Look for leaks, damaged dust boots, cracked or deteriorated bushings, and visible looseness, while remembering that some faults require a technician to identify safely. No single mileage interval suits every part and driving condition. Document the date and findings so gradual wear does not go unnoticed.
Monitor tire wear and alignment
Check tire condition regularly and look for wear that is uneven across the tread or differs from side to side. Tire wear can have several causes, so it should prompt an inspection rather than an automatic alignment adjustment. Recheck alignment when there are relevant repairs, impacts, or handling changes, following vehicle-specific guidance. Consistent records make it easier to tell whether a pattern is new or has been present for some time.
Adjust service plans for rough roads or heavy loads
Frequent rough-road driving, regular heavy cargo, or demanding use can justify closer attention than a light-duty routine. Inspect after a significant impact and keep loads within the vehicle’s stated limits. If the suspension is often near its working limit, ask a qualified technician whether the chosen components suit that use. The suspension maintenance advice offers general reminders, but the appropriate schedule depends on the vehicle and its actual operating conditions.
Address new symptoms before they affect safety
A change in steering, braking stability, ride height, noise, or tire wear deserves timely attention, especially if it appears suddenly. Note when it happens and avoid continued driving if the vehicle feels unsafe or a component appears damaged. Have the underlying cause diagnosed before replacing parts or making further adjustments. Prompt attention protects both the suspension components and the people travelling in the vehicle.
Conclusion
A successful suspension upgrade is the one that solves a clearly identified problem, fits the exact vehicle, and suits its everyday use. Take time to verify parts, plan safe installation, and check alignment and behavior afterward. With careful follow-up and regular maintenance, it is easier to preserve comfort, control, and confidence on the road.
Frequently Asked Questions
How can I tell whether my suspension needs attention?
Repeated bouncing, new clunks, visible leaks, uneven tire wear, or a sudden change in handling are reasons to arrange an inspection. These signs do not identify a specific failed part, so diagnosis matters.
Should I replace shocks and struts in pairs?
Follow the vehicle service guidance and part maker’s instructions. For components intended to work as a matched pair across an axle, replacing both sides can help maintain consistent behavior; a technician can assess the condition of the other side.
Will stiffer suspension improve safety?
Not automatically. A firmer setup can change ride comfort and body movement, but the result depends on compatibility, condition, tires, alignment, and driving conditions. A setup that is poorly matched can make the vehicle less predictable.
Do I need an alignment after changing suspension parts?
If the work can affect wheel geometry or ride height, an alignment check is generally an important part of completing the job. Confirm the requirement for the particular repair and retain the alignment results.
Can I install suspension parts at home?
That depends on the job, tools, training, and vehicle-specific procedures. Spring work can be hazardous, and unfamiliar or complex installation is best handled by a qualified technician.
How often should upgraded suspension be inspected?
Use the vehicle and component makers’ schedules, and adapt checks to road conditions, loads, and use. Inspect sooner after an impact or if a new noise, leak, or handling change appears.
What should I check after a suspension upgrade?
Check ride height, clearance, alignment, and behavior on a cautious test drive. Watch for noise, vibration, leaks, or uneven handling, then follow any instructed post-installation inspection interval.