

Key Takeaways
A recycled mount can be a sensible repair when its fit and condition are properly verified. The safest purchase starts with accurate vehicle information and ends with careful installation.
- Match the mount by model, year, engine, transmission, position, and OEM number.
- Inspect rubber, brackets, fasteners, and any hydraulic fluid before buying.
- Ask the supplier about grading, testing, returns, warranty coverage, and packing.
- Support the engine correctly and follow the vehicle’s torque specifications during installation.
- Compare the complete cost, including labor, shipping, and the risk of an incorrect part.
Understanding recycled Chery engine mounts
Engine mounts are small, heavily loaded components that influence how a vehicle feels and how its powertrain sits in the chassis. Recycled Chery engine mounts may offer a useful middle ground between a costly original replacement and an unknown low-cost part, but their condition cannot be assumed from appearance alone. The right decision depends on fitment, construction, inspection, and the supplier’s records.
What an engine mount does
An engine mount secures the engine and, in some designs, helps support the transmission while limiting movement. Its rubber or elastomer section absorbs vibration and cushions the changes that occur when the vehicle accelerates, brakes, or shifts gear. A worn mount can allow excessive movement, create clunks, and transmit more vibration into the cabin.
Mounts also help keep connected components in their intended relationship. If one collapses or separates, exhaust sections, hoses, wiring, and drivetrain joints may be placed under unusual stress. That is why a mount should be treated as a structural and vibration-control component, not merely as a piece of rubber.
Why Chery mounts are recycled
A recycled mount generally comes from a vehicle that has been dismantled for usable parts. The component may still have substantial service life, particularly when the donor vehicle was retired for body damage or another unrelated reason. Reusing it can keep a serviceable bracket and isolator in circulation instead of sending the entire assembly directly to scrap.
The word recycled does not mean automatically ready to install. A reputable seller should identify the donor vehicle when possible, inspect the mount, and describe any cleaning, testing, or refurbishment that was performed. If those details are missing, the buyer is left guessing about the part’s history.
Recycled versus new aftermarket mounts
A new aftermarket mount has not previously been installed, but newness alone does not guarantee the same material quality, dimensions, or damping behavior as the original design. A recycled original-equipment mount may have better known geometry, while its rubber could have aged. The comparison therefore has to include construction and evidence, not only the label on the box.
For a useful comparison, ask whether the offered part is an original component, a replacement manufactured to another specification, or a refurbished assembly. Also compare the warranty, return freight, and labor involved if the mount proves unsuitable. Fitment evidence matters most when the vehicle has several engine or transmission variants.
When a recycled mount can be a practical choice
A recycled mount can make sense for an older Chery, a less common trim, or a repair where an original used assembly is easier to locate than a new replacement. It may also suit an owner who wants to preserve the original mounting geometry while keeping the parts budget under control. The decision is strongest when the seller provides clear photographs and a credible fitment match.
A vehicle fitment search can be useful as a starting point because it organizes parts by type, year, brand, and model. Still, online fitment should be checked against the vehicle identification number and the physical part before ordering. A search result narrows the options; it does not replace inspection.
Matching the mount to your Chery vehicle
Correct matching is the first practical safeguard when buying a replacement. Chery vehicles can share a name while differing by production year, engine, transmission, market, or mounting position. Gather the vehicle details before contacting a seller, and keep the old mount available for comparison if it can be removed safely.
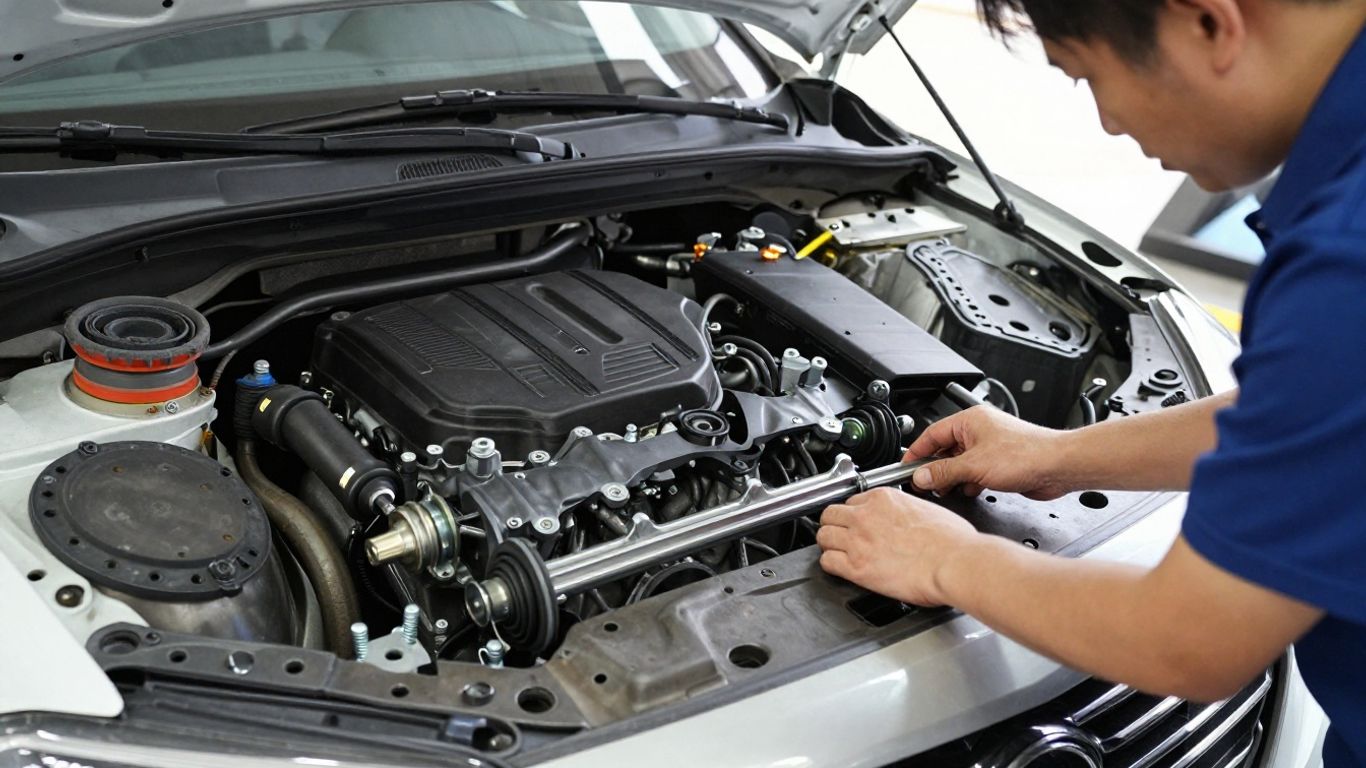
Identifying the exact Chery model and production year
Record the model, body style, production year, market, and VIN rather than relying on a broad description such as “Chery SUV mount.” A mid-cycle revision may use a different bracket or isolator even when the exterior badge looks unchanged. Photos of the vehicle identification label and the existing mount can help resolve uncertainty.
If the seller asks for only the model name, provide the additional details anyway. Production dates can overlap, and catalog listings sometimes group several versions together. A careful supplier will usually prefer more information before confirming compatibility.
Checking the engine and transmission configuration
The engine code and transmission type can change the load path and the location of the mounts. An automatic and manual version may use different brackets, while different engine families can require entirely different shapes. Confirm whether the listing is for the engine-side mount, transmission-side mount, torque mount, or a complete set.
The vehicle’s service information may identify the arrangement more clearly than a general parts listing. If you are unsure, photograph the mount from several angles and include nearby hoses, brackets, and bolt locations. Those surrounding details often reveal which position the part occupies.
Using OEM part numbers for accurate matching
An OEM part number is one of the most reliable ways to compare a used mount with the part already fitted. Look for a stamped, molded, or labeled number, then ask the seller to confirm whether the number is an exact match or an interchangeable reference. Do not treat a similar-looking sequence as proof of compatibility.
A catalog can still contain superseded numbers, so request the seller’s cross-reference explanation. The recycled OEM components catalog approach is useful when several references are associated with one vehicle application, but the final check should include the VIN and mount position.
Confirming left, right, front, and rear mount positions
Mount positions should be stated from the vehicle’s perspective, not from someone standing in front of it. Left and right parts may look almost symmetrical while having different bolt spacing or rubber orientation. Front, rear, and torque mounts can also carry different loads and should not be substituted casually.
Before ordering, compare the bolt holes, stud locations, bracket angle, and isolator shape. A simple annotated photograph can prevent an expensive mistake. If the listing does not identify the position clearly, pause the purchase until the seller confirms it in writing.
Inspecting the condition before purchase
A recycled mount deserves the same attention as any other safety-related replacement part. Clean metal can make an old assembly look newer than it is, and a photograph taken from one angle may hide separation or corrosion. Ask for evidence that shows the rubber, bracket, fasteners, and any fluid-filled chamber.
Checking rubber for cracks, hardening, and separation
Inspect the rubber for deep cracks, chunks missing from the edge, glossy hardened surfaces, and separation from the metal sleeve. Small surface marks may be cosmetic, but a gap between rubber and bracket is a serious concern. Compare the shape with a known-good reference when possible.
A mount that has been exposed to heat or oil may deteriorate faster than one kept clean and dry. Ask whether the rubber feels resilient or has become unusually stiff. The seller may not be able to measure remaining life precisely, so transparent condition photographs are especially valuable.
Examining metal brackets for bending or corrosion
The metal portion should have its original shape, straight mounting faces, and intact welds. Look for impact marks, distorted holes, cracked welds, and corrosion that has reduced the section around a fastener. Surface rust can often be managed, but heavy flaking or pitting deserves caution.
A donor vehicle involved in a collision may have a bracket that appears close to normal while being slightly bent. Compare the mounting plane and hole spacing with the old part. If the two do not align naturally, do not plan to force the replacement into position with bolts.
Looking for fluid leaks in hydraulic mounts
Hydraulic mounts contain fluid that helps control vibration across different operating conditions. Wetness, a sticky residue, or a dark trail around a seam may indicate leakage. A dried stain is also worth asking about because the absence of fresh fluid does not prove the mount is sound.
Request close photographs of the lower and upper surfaces, not only the visible face. If the seller has a testing procedure for hydraulic mounts, ask what it measures and whether the result is recorded. Without that information, price the part as a higher-risk purchase.
Requesting photos, test results, and warranty details
A good inquiry is specific and easy for the seller to answer. Request photographs of every mounting face, the part number, the rubber isolator, and the bracket edges, then ask how the component was graded. You can also compare the answer with a rubber engine mount listing to see which physical details are normally shown in a parts presentation.
Before paying, get the warranty and return terms in writing. Ask who pays return shipping, whether installation labor is excluded, and whether the warranty covers vibration or only breakage. Those details often matter more than a small difference in the advertised price.
Choosing a trustworthy recycled parts supplier
The supplier is part of the replacement decision. A reliable operation should be able to explain where its parts come from, how they are sorted, and what happens when a customer receives an incorrect or defective component. Clear communication is a practical sign of process discipline, although it is not a substitute for examining the part itself.
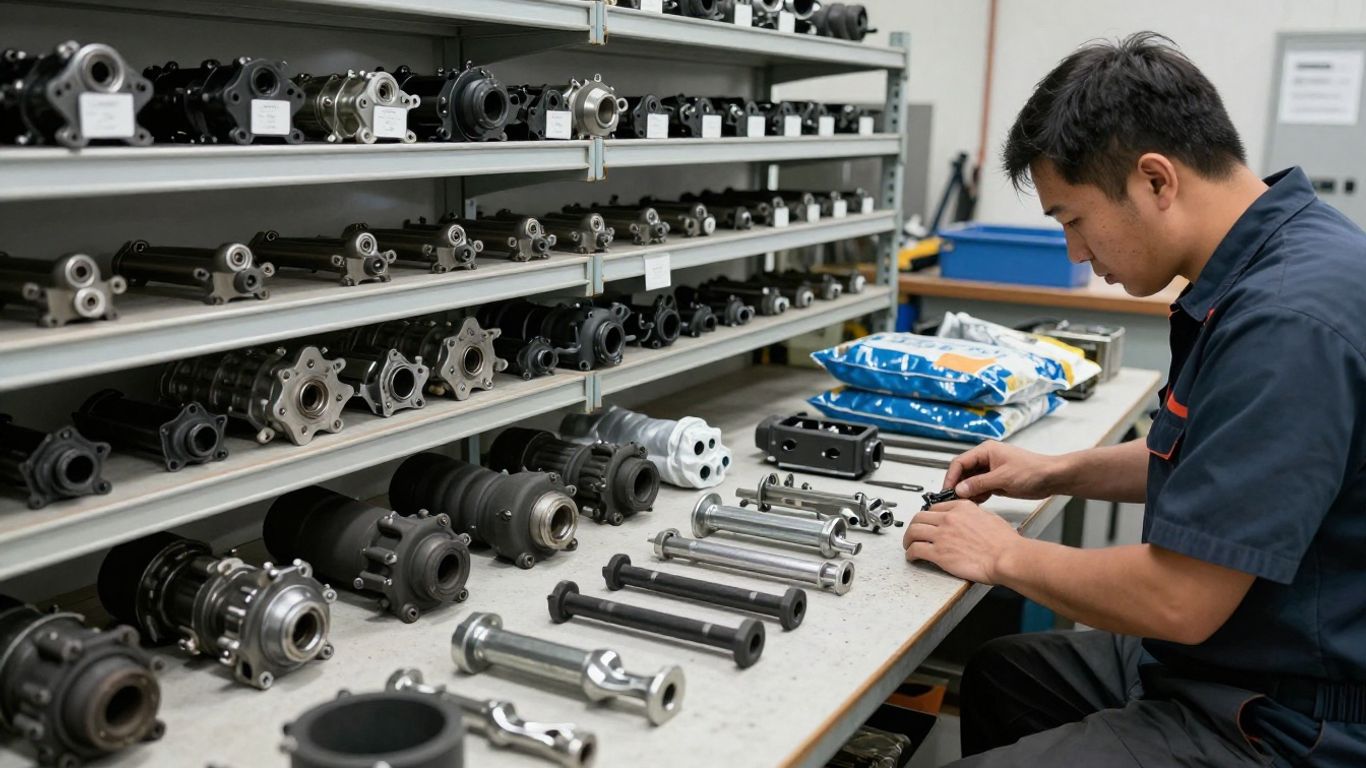
Verifying vehicle dismantler and recycler credentials
Look for a business identity, physical contact details, clear terms, and a record of handling vehicle parts responsibly. Ask whether the supplier dismantles vehicles directly or sources components from another yard. Neither model is automatically wrong, but the chain of custody should be understandable.
For broader recycling questions, automobile metal recycling services illustrate how vehicle materials may be handled separately from reusable components. When purchasing a mount, however, confirm that the seller is offering a tested reusable part rather than scrap material or an ungraded assembly.
Comparing grading standards and refurbishment processes
“Good condition” means little unless the supplier defines it. Ask whether grading considers rubber integrity, bracket straightness, corrosion, fluid retention, and thread condition. Find out whether cleaning is cosmetic only or whether the part has undergone a documented inspection and refurbishment process.
A useful supplier will distinguish between inspected, refurbished, and untested stock. That distinction helps you compare offers fairly. It also prevents a low price from appearing attractive simply because the seller has omitted the work that another supplier includes.
Reviewing return policies and limited warranties
Read the return policy before the mount is ordered, especially when fitment is uncertain. Check the time limit, restocking charge, evidence required for a claim, and whether the part must be returned in its original condition. A limited warranty may cover manufacturing or material failure while excluding incorrect installation.
The same careful comparison used for a contractor payment platform applies in a different form here: look past the headline offer and examine fees, support, and the terms that govern a problem. For automotive parts, those terms include shipping, compatibility, and what happens after installation.
Evaluating shipping, packaging, and delivery times
Engine mounts are heavy and can be damaged when they move loosely inside a box. Ask how the bracket is protected, whether studs are covered, and whether hydraulic sections are kept from sharp impacts. Confirm the dispatch estimate as well as the carrier’s expected delivery window.
If the vehicle is already dismantled for repair, delivery time can affect labor and storage costs. A slightly cheaper mount may be poor value if weak packing causes damage or a vague dispatch promise leaves the vehicle unusable for several extra days.
Installing recycled Chery engine mounts safely
Installation changes the risk profile of the repair. The engine and transmission must be supported before the old mount is loosened, and the new component must be positioned without bending the bracket or loading nearby parts. If the procedure requires lifting equipment or access you do not have, use a qualified technician.
Preparing the vehicle and supporting the engine
Park on a level surface, apply the parking brake, and follow the manufacturer’s lifting and support instructions. Disconnect or protect components that could be strained, then support the powertrain with equipment designed for that purpose. Never rely on a jack placed under a fragile oil pan or transmission casing.
Before removal, note the orientation of washers, spacers, brackets, and heat shields. Photographing the assembly can help during reinstallation. Keep the replacement beside the old mount and compare the holes and orientation before transferring any hardware.
Following torque specifications and service procedures
Use the vehicle’s service information for bolt sequence, torque values, tightening conditions, and any single-use fasteners. Some fasteners are tightened with the powertrain at a particular neutral position or ride height. Guessing at torque can leave the mount loose or overstress its threads.
Clean mating surfaces without removing material that sets the mount’s height. Tighten each fastener in the specified order, then recheck that the engine has settled naturally rather than pulling the mount sideways. A service manual or qualified technician is preferable to a generic installation video when the instructions differ.
Replacing related mounts and damaged hardware
A failed mount can make neighboring mounts work harder, so inspect the full mounting system while access is available. Replace bolts, nuts, washers, or sleeves that are damaged, stretched, badly corroded, or identified as single-use. Do not reuse hardware merely because it threads back into place.
Also check for oil contamination, torn hoses, damaged wiring clips, and contact marks around the powertrain. Replacing one mount will not correct a bent bracket or a separate drivetrain problem. The surrounding inspection is what turns a part swap into a sound repair.
Checking alignment, vibration, and noise after installation
After installation, start the engine and listen for new clunks, scraping, or excessive vibration. Check that the engine sits squarely and that nearby exhaust, hoses, and wiring have clearance. A short, gentle road test should include idle, acceleration, braking, and shifting if safe to do so.
Recheck visible fasteners and clearances after the test. Some vibration immediately after installation can come from incorrect alignment, trapped contact, or a mount tightened while the powertrain was held in the wrong position. Stop driving and investigate any severe movement or noise rather than waiting for it to settle.
Managing cost, performance, and long-term value
The cheapest listing is not always the least expensive repair. A mount that fits poorly can create repeat labor, shipping costs, and damage to adjacent components. Compare the part, inspection evidence, warranty, delivery, and installation together so the decision reflects the whole job.
Comparing recycled, aftermarket, and OEM replacement costs
Create a simple comparison before ordering. Include the purchase price, shipping, taxes, expected labor, and the cost of returning a wrong part. A new component may carry a higher initial price, while a recycled original may be worthwhile when its condition and fitment are well documented.
| Option | Main advantage | Main question to ask | Cost risk |
|---|---|---|---|
| Recycled original | Known original geometry | How was condition verified? | Unknown remaining life |
| New aftermarket | Unused component | Does its specification match? | Fit or durability variation |
| New OEM | Direct specification | Is the price justified for the vehicle? | Higher upfront cost |
| Refurbished assembly | Inspection may be included | What work was actually performed? | Vague grading |
The table is only a framework; the actual choice depends on the vehicle and the evidence available. A documented, correctly matched recycled mount can be better value than an inexpensive part with unclear dimensions or no meaningful return protection.
Understanding how driving conditions affect mount life
Mounts experience different loads in stop-and-go traffic, on rough roads, during frequent towing, and in very hot or cold conditions. Oil contamination, repeated harsh impacts, and an engine that runs roughly can also shorten service life. These factors do not predict an exact replacement interval, but they do explain why two apparently similar vehicles may need mounts at different times.
Smooth driving and prompt attention to misfires, fluid leaks, and suspension problems can reduce unnecessary stress. Regularly inspect the mount area during routine servicing, especially after an impact or an unusual change in vibration.
Recognizing warning signs after installation
Pay attention to symptoms that were absent before the repair. Useful checks include:
- A new clunk when selecting gear or changing direction.
- Noticeably stronger vibration at idle or under acceleration.
- Contact between the engine, exhaust, bracket, or nearby bodywork.
- Fastener movement, fresh fluid, or visible rubber separation.
These signs do not identify one fault by themselves, but they justify stopping for a closer inspection. Recheck fitment, orientation, torque, and the condition of the other mounts before assuming the recycled component has failed.
Disposing of the old mount responsibly
Do not leave the old mount in ordinary household waste. Separate it from other workshop debris, drain or contain any fluid if the design permits, and ask a local automotive recycler or parts yard about acceptance rules. Metal and rubber may be handled through different streams.
A responsible disposal route keeps reusable metal and recoverable materials out of landfill while reducing workshop clutter. It also gives you a chance to report whether the old mount failed through torn rubber, corrosion, or a hydraulic leak, which can help guide future maintenance.
Conclusion
Choosing recycled Chery engine mounts is mainly an exercise in careful verification. Match the exact vehicle and position, inspect the assembly honestly, buy from a supplier with clear terms, and install it with proper support and torque procedures. That measured approach makes a recycled replacement a more predictable part of a sensible repair.
Frequently Asked Questions
Are recycled Chery engine mounts reliable?
They can be reliable when the mount is correctly matched, carefully inspected, and sold with clear condition information. Remaining life varies with the donor vehicle, storage, rubber age, and prior operating conditions.
How do I know which engine mount my vehicle needs?
Use the VIN, model, production year, engine code, transmission type, mount position, and OEM part number. Compare photographs and dimensions with the original part before ordering.
Can a damaged-looking rubber mount still be used?
Minor surface marks may not be decisive, but deep cracks, separation, severe hardening, missing rubber, or fluid contamination are warning signs. Ask for close-up photographs and a condition assessment.
Should all engine mounts be replaced at once?
Not always. The other mounts should be inspected, and replacing several together may be sensible when they show similar age or damage. A technician can assess whether one failed mount has overloaded the others.
What causes vibration after a mount replacement?
Possible causes include incorrect fitment, poor alignment, improper torque, contact with nearby components, a defective mount, or another engine or drivetrain problem. Reinspect the installation before continuing to drive normally.
Are hydraulic engine mounts better than solid rubber mounts?
They are designed differently rather than being universally better. Hydraulic designs use fluid to manage vibration, while solid rubber designs rely on their elastomer construction. The replacement must match the vehicle’s original design.
Is installation suitable for a home mechanic?
It may be possible for an experienced mechanic with proper lifting and support equipment, service information, and safe working space. Because the powertrain must be supported, uncertain or improvised procedures should be left to a qualified professional.