
Key Takeaways
A recycled gearbox mount can be a sensible repair when its fit and condition are properly verified. The safest choice depends on matching specifications, inspecting materials, and buying with clear return terms.
- Match the mount to the exact vehicle, engine, gearbox, and drivetrain.
- Inspect rubber, brackets, corrosion, contamination, and previous damage.
- Compare the saving with the mount’s condition, warranty, and likely service life.
- Ask about mileage, removal conditions, measurements, hardware, and returns.
- Install the mount using safe procedures and the correct torque specifications.
Understanding recycled Chery gearbox mounts
A gearbox mount connects the transmission assembly to the vehicle structure while helping control movement and vibration. When sourced carefully, recycled Chery gearbox mounts can offer a practical alternative to buying new. The key is to treat a used mount as a component that needs evidence of suitability, not simply as a cheaper listing.
What a gearbox mount does
A gearbox mount supports the gearbox and helps keep the drivetrain positioned as the vehicle accelerates, brakes, and travels over uneven roads. Its rubber or elastomer section absorbs some vibration, while its metal bracket transfers load to the vehicle body or subframe. A mount that has softened, torn, or shifted can allow excessive movement and place extra stress on nearby components.
The mount works as part of a system, alongside the engine mounts, driveshafts, exhaust, and other drivetrain connections. That is why a small change in mount position can sometimes create noise or vibration elsewhere.
Why Chery vehicles may need replacement mounts
A mount may need replacement after long service, repeated vibration, fluid contamination, or damage from an impact. Wear can also become more noticeable when other drivetrain components have already been replaced or adjusted. The vehicle’s age and maintenance history are more useful than a general assumption about how long any mount should last.
Before ordering, confirm the symptoms and inspect the surrounding components. A worn mount is one possible cause of clunks or vibration, but replacing it without checking the rest of the drivetrain can leave the original problem unresolved.
Recycled, used, refurbished, and remanufactured parts compared
These descriptions are not interchangeable. A used part is generally removed from another vehicle, while a recycled part is recovered for another use. Refurbished parts may have been cleaned or had selected components replaced, whereas remanufactured parts are typically rebuilt to a defined process. Sellers should explain exactly what work, if any, was carried out.
A clear description matters more than the label. Ask whether the rubber was tested, whether the bracket was checked for distortion, and whether the item is supplied as removed or inspected. For broader drivetrain research, readers may also encounter spare gearboxes, but a gearbox itself and a gearbox mount are separate components with different fitment checks.
Signs that a gearbox mount is failing
Common warning signs include a clunk when selecting a gear, increased vibration through the cabin, or visible movement while the drivetrain is loaded. A mount can also fail without an obvious noise, particularly when the rubber has hardened gradually. Diagnosis should include a visual inspection and, where appropriate, a professional assessment.
Do not rely on one symptom alone. Similar sounds can come from exhaust contact, driveshaft issues, loose fasteners, or other worn mounts, so the source needs to be isolated before ordering a replacement.
Evaluating mount compatibility
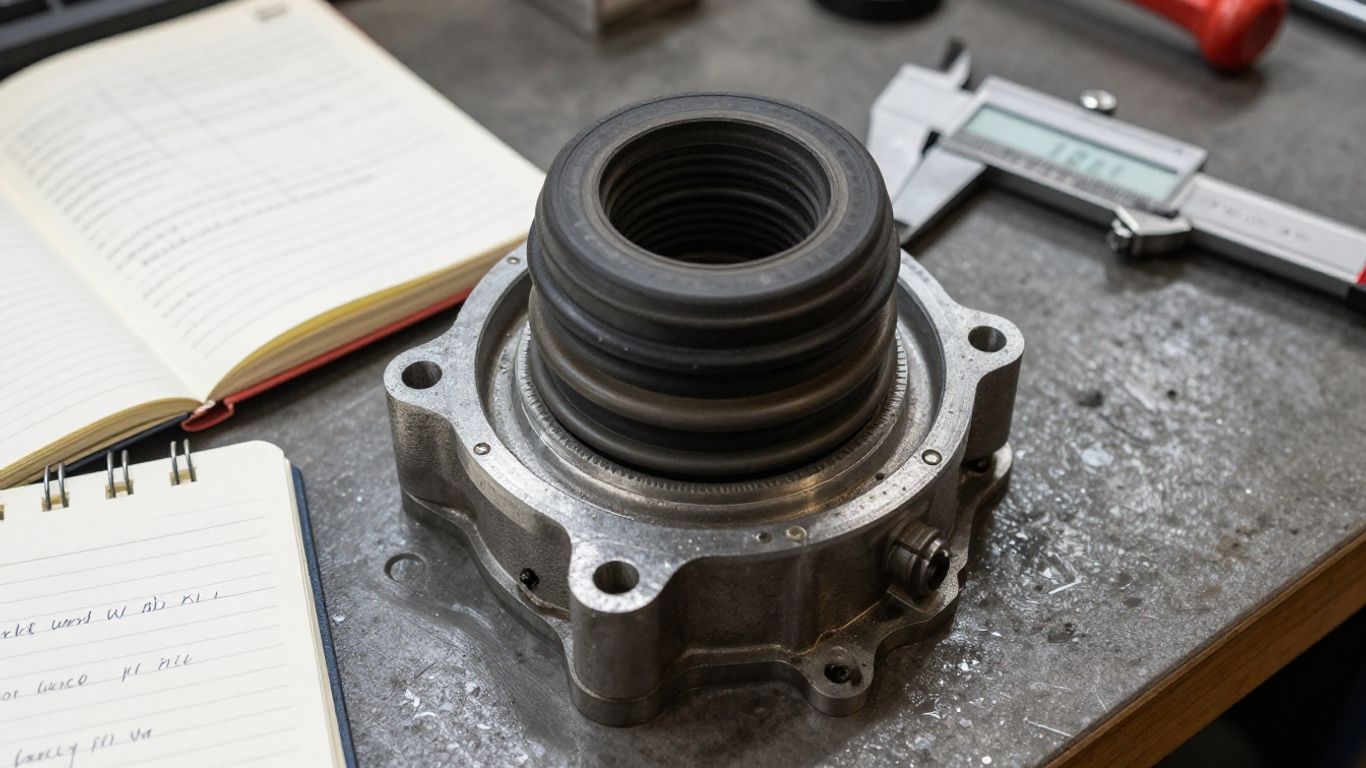
Compatibility is more precise than finding a part that looks similar. Chery models can use different mounting arrangements across years, engines, gearboxes, and markets, and even a small variation in bracket shape can affect installation. Gather the vehicle information first, then compare the listing against physical and part-number evidence.
Matching the mount to the Chery model and year
Start with the exact model, build year, body style, and market specification. A model name alone may not identify the correct mount because revisions can occur during a production run. The vehicle identification number can help a supplier narrow the search, but it should be checked against the actual mount and available part records.
If a listing covers several models, ask the seller to confirm your specific application in writing. A photograph that merely resembles the original part is not enough evidence of fit.
Checking engine, gearbox, and drivetrain specifications
The engine and gearbox pairing can affect mount location, shape, and load requirements. Manual and automatic drivetrains may use different brackets, while front-wheel-drive and all-wheel-drive layouts can have different mounting points. Record these details before comparing stock.
A useful comparison should include the engine designation, transmission type, drivetrain layout, and whether the vehicle has factory or non-factory changes. Where available, use the service information for your vehicle rather than relying on a generic catalogue description.
Comparing original part numbers and mounting points
Compare the original part number with the number supplied by the seller, allowing for superseded numbers or regional variations. Then check bolt-hole spacing, stud positions, bracket orientation, rubber shape, and contact surfaces. Measurements are particularly helpful when the number is missing or difficult to read.
The following checks make a listing easier to evaluate before money changes hands. They also give the seller specific questions to answer rather than leaving compatibility to guesswork.
- Confirm the original and replacement part numbers.
- Compare bolt-hole spacing and stud orientation.
- Check the bracket profile against clear photographs.
- Ask whether all required sleeves, nuts, and washers are included.
Afterward, compare the answers with the vehicle’s existing mount. A close match in one area does not overcome a different mounting position or bracket angle.
Avoiding compatibility issues with modified vehicles
Modified vehicles need extra caution because altered ride height, drivetrain components, exhaust routing, or subframes can change clearance and loading. A mount that fits a standard vehicle may not work correctly after modifications. Tell the supplier about relevant changes before ordering.
If the vehicle has unusual parts, keep the original mount for comparison and measure the installation area. When the modification is substantial, a qualified technician should confirm that the replacement will not introduce misalignment or contact with nearby components.
Inspecting recycled gearbox mounts before purchase
A recycled mount should be judged on its materials, history, and evidence of inspection. Photographs can reveal obvious problems, but they cannot always show rubber hardness, hidden separation, or distortion under load. If possible, inspect the part in person; otherwise, request detailed images from several angles.
Examining rubber for cracks, hardening, and separation
Look for deep cracks, chunks missing from the rubber, surface splitting, and separation from the metal sleeve or bracket. Some surface marks may be cosmetic, but a rubber section that has shrunk, hardened, or pulled away from its bonded area deserves caution. Ask whether the rubber was exposed to prolonged heat or oil.
The aim is not to find a perfectly new-looking part. It is to establish whether the rubber still appears structurally sound and whether its condition is consistent with the price and any stated warranty.
Checking metal brackets for bends, rust, and impact damage
The bracket should be checked for bends, elongated bolt holes, heavy rust, cracks, and signs of impact. Compare its shape with photographs of the original part, especially around mounting ears and welded areas. Light surface corrosion may be manageable, while distortion can prevent proper alignment.
Do not assume a bracket can be straightened safely without specialist assessment. Bending a loaded mounting component can weaken it or change the position of the gearbox.
Looking for signs of oil, coolant, or heat exposure
Oil and coolant can affect rubber over time, while heat can harden or distort it. Look for staining, a swollen appearance, brittle edges, or discolouration near exhaust components. The surrounding residue can also indicate a leak that should be repaired before the replacement mount is installed.
Condition affects value more than a low asking price alone. A mount with clear contamination or heat damage may require replacement sooner and can become a false economy.
Confirming inspection records and return policies
Ask what the seller inspected, when the part was removed, and whether the inspection was documented. The return policy should state the time limit, acceptable condition, freight responsibility, and any exclusions for installed parts. Keep the listing, photographs, messages, and invoice until the mount has been checked and fitted.
A seller who cannot explain the part’s condition may still have a usable component, but the uncertainty should be reflected in the purchase decision. Clear records make a problem easier to resolve if the part does not match the description.
Weighing the benefits and risks
The appeal of a recycled mount is straightforward: it may reduce the repair bill and keep a usable component in service. That benefit has to be weighed against unknown wear, limited availability, and the time involved in checking fitment. A sound decision looks at total value rather than the sticker price alone.
Potential savings compared with new mounts
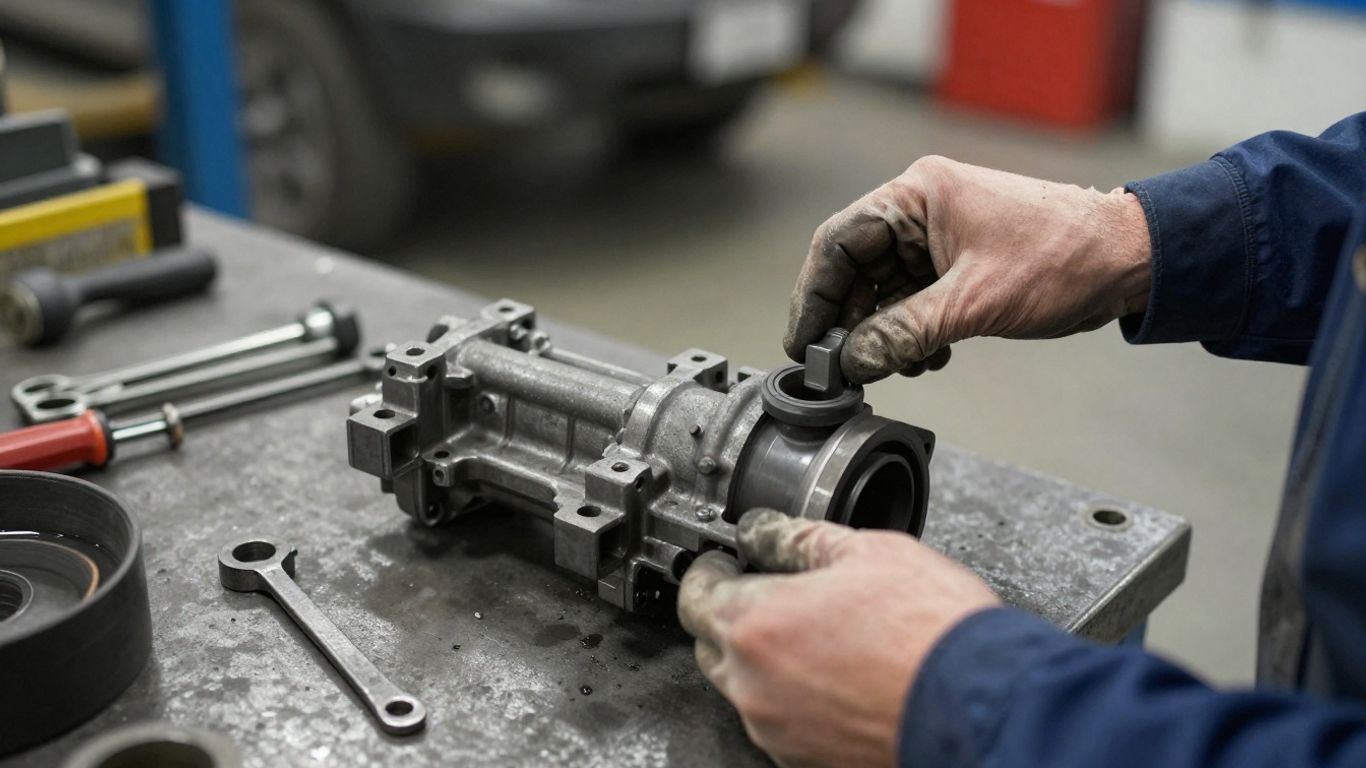
A used mount may cost less than a new equivalent, particularly for an older vehicle or a part that is difficult to source. However, include shipping, possible replacement hardware, inspection time, and the risk of paying for another installation if the part fails. The cheapest listing is not automatically the lowest-cost repair.
Request a complete price and compare it with the warranty and stated condition. If the difference is small, the added certainty of a newer or better-documented part may be worth considering.
How recycled parts support vehicle sustainability
Reusing a serviceable mount can reduce the demand for a newly manufactured replacement and keep material out of the waste stream. It also makes use of components recovered from vehicles that are no longer being repaired. These benefits are strongest when the part is genuinely suitable and remains in service for a reasonable period.
Recycling should not mean accepting unsafe wear. Responsible reuse still depends on inspection, accurate description, and correct installation.
When a recycled mount may be a poor choice
A recycled mount may be unsuitable when the rubber is visibly deteriorated, the bracket is distorted, or the seller cannot verify fitment. It may also be a weak option when the vehicle is difficult to access, the installation cost is high, or the mount’s history suggests severe heat or fluid exposure.
Avoid taking a chance simply because the part is available. A poor match can create vibration, delay the repair, and add labour costs that outweigh the original saving.
Balancing price, condition, warranty, and expected service life
Think of the purchase as a balance between four questions: Is it the correct part? Is its condition credible? What protection does the seller provide? How long might it reasonably remain serviceable? No seller can guarantee an exact service life for a used mount, so the decision should reflect uncertainty.
The best value is often the part with enough evidence behind it to make the risk understandable. That may not be the cheapest option, but it is more likely to support a predictable repair.
Buying recycled Chery gearbox mounts
Buying online can widen the search, especially when local stock is limited, but it also makes careful communication essential. A reputable supplier should be willing to discuss fitment, condition, images, and terms before dispatch. Australia-wide parts networks can make used, genuine, and aftermarket options easier to compare across Melbourne, Sydney, Brisbane, and elsewhere.
Choosing reputable salvage yards and auto recyclers
Look for a seller that provides a physical business identity, clear contact details, accurate descriptions, and a documented returns process. Reviews can offer useful context, but the listing itself should still answer the technical questions. Ask whether the part was removed from a running vehicle, an accident-damaged vehicle, or a vehicle with an unknown history.
A supplier experienced with Chery bumper parts may handle a range of vehicle components, but bumper experience alone does not establish gearbox-mount expertise. The mount still needs its own fitment and condition checks.
Questions to ask about mileage and removal conditions
Ask for the donor vehicle’s model, year, engine, gearbox, approximate mileage, and removal circumstances. If the vehicle was involved in an impact, ask which area was damaged and whether the mount or its surrounding structure could have been loaded. The answers may not prove the part is sound, but they help establish its history.
Also ask whether the mount was removed carefully and stored indoors or exposed to weather. Storage conditions can affect rubber and metal surfaces, especially over a long period.
Verifying photos, measurements, and included hardware
Request clear photographs of the rubber, bracket, mounting faces, part number, and any corrosion. Measurements should be taken from identifiable points, not estimated from a photograph. Confirm whether sleeves, studs, nuts, and washers are included or whether the original hardware must be reused.
Compare the information with your vehicle before accepting the order. Keep copies of the photos because they provide a useful record of the part’s pre-installation condition.
Understanding shipping, warranties, and return terms
Large or heavy components can incur meaningful freight costs, and damage in transit should be handled under stated shipping rules. Read whether the warranty covers parts only or also includes labour, and check what happens if the mount is found incompatible. Some returns require the part to remain uninstalled.
A written confirmation of the agreed part and terms is preferable to a casual verbal assurance. It gives both sides a clearer reference if the delivered component differs from the listing.
Installing and maintaining the replacement mount
Installation affects how well a replacement mount performs. The vehicle must be supported securely, the drivetrain must not be left hanging on an unsuitable component, and fasteners must be handled according to the vehicle’s repair information. If access is difficult or the drivetrain needs substantial support, use a qualified technician.
Preparing the vehicle for safe installation
Park on a stable, level surface and use appropriate lifting equipment and stands. Disconnect anything required by the repair procedure, inspect the surrounding mounts and brackets, and compare the replacement with the removed part before fitting it. Do not work beneath a vehicle supported only by a jack.
Clean mating surfaces and replace damaged or stretched hardware where the service information requires it. Preparation reduces the chance of forcing a mount into position or hiding a separate alignment problem.
Why correct torque specifications matter
Torque controls how securely the mount is clamped and helps prevent fastener loosening or bracket distortion. Under-tightening can allow movement, while over-tightening can damage threads, crush components, or alter the mount’s intended loading. Use the manufacturer’s service information or a reliable repair reference for the exact values and sequence.
A torque wrench should be used where specified, with threads and fasteners prepared as instructed. Do not substitute a guessed value because a bolt feels tight.
Checking drivetrain alignment after installation
Once fitted, check that the gearbox sits naturally on the mount and that bolt holes align without levering the assembly into position. Inspect clearance around the exhaust, driveshafts, wiring, and nearby brackets. Forced alignment may indicate the wrong mount, a shifted bracket, or another drivetrain issue.
The vehicle should be reassembled according to the repair procedure before testing. If the mount does not settle into place correctly, stop and resolve the cause rather than tightening it into alignment.
Monitoring vibration, noise, and movement after fitting
After installation, begin with a cautious stationary check and then a short road test in a safe area. Listen for new clunks, feel for unusual vibration, and watch for movement or contact that was not present before. Recheck fasteners and surrounding clearances if the repair procedure calls for it.
A small amount of change after replacing a worn mount may be expected, but persistent or worsening symptoms need investigation. The replacement could be incorrect, another mount could be worn, or the original fault may have been elsewhere.
Conclusion
Recycled Chery gearbox mounts can be a practical repair option when the part is correctly identified, carefully inspected, and bought with sensible protection. Verify the vehicle and drivetrain details, compare physical measurements, question the mount’s history, and install it using the correct procedure. A little diligence before purchase is usually more valuable than chasing the lowest listed price.
Frequently Asked Questions
What is a gearbox mount?
A gearbox mount secures the gearbox to the vehicle structure while helping control drivetrain movement and reduce transmitted vibration.
Can a used gearbox mount be reliable?
It can be reliable when its rubber and bracket are sound, the fitment is confirmed, and the seller provides a credible condition description and return policy.
How do I identify the correct mount?
Compare the vehicle’s model, year, engine, transmission, drivetrain, original part number, mounting points, and physical dimensions with the replacement listing.
What damage should I look for on the rubber?
Check for deep cracks, hardening, missing sections, swelling, staining, and separation between the rubber and metal components.
Should I replace the mounting hardware?
Follow the vehicle’s service information. Some hardware may be reusable, while damaged, stretched, corroded, or specified single-use fasteners should be replaced.
Can a bad mount cause vibration?
Yes. A deteriorated mount can allow excess drivetrain movement and transmit more vibration, although other drivetrain or exhaust components can cause similar symptoms.
When should installation be done by a professional?
Use a professional when safe drivetrain support is difficult, the vehicle has modifications, alignment is uncertain, or you lack the correct tools and torque information.