

Key Takeaways
A used axle can be a sensible repair, but only when its fitment and condition are verified before purchase.
- Match the assembly by model year, engine, trim, position, and part number.
- Inspect boots, CV joints, splines, flanges, shafts, and bearings carefully.
- Compare the full seller value, including warranty, returns, testing, and delivery.
- Replace worn seals, boots, or single-use hardware before installation when needed.
- Test for vibration, clicking, leaks, and poor alignment after fitting.
Understanding used Chery axle assemblies
Used Chery axle assemblies vary considerably in design, position, and condition. The right replacement transfers engine power reliably while allowing the suspension and steering to move through their normal range. Before comparing prices, identify exactly what the listing includes and how it fits your vehicle.
What an axle assembly does in the drivetrain
An axle assembly connects the differential or transmission output to a driven wheel. In many front-wheel-drive applications, constant-velocity joints allow the shaft to transmit power while the wheels steer and move with the suspension. A healthy assembly should rotate smoothly without excessive play, binding, or damaged protective components.
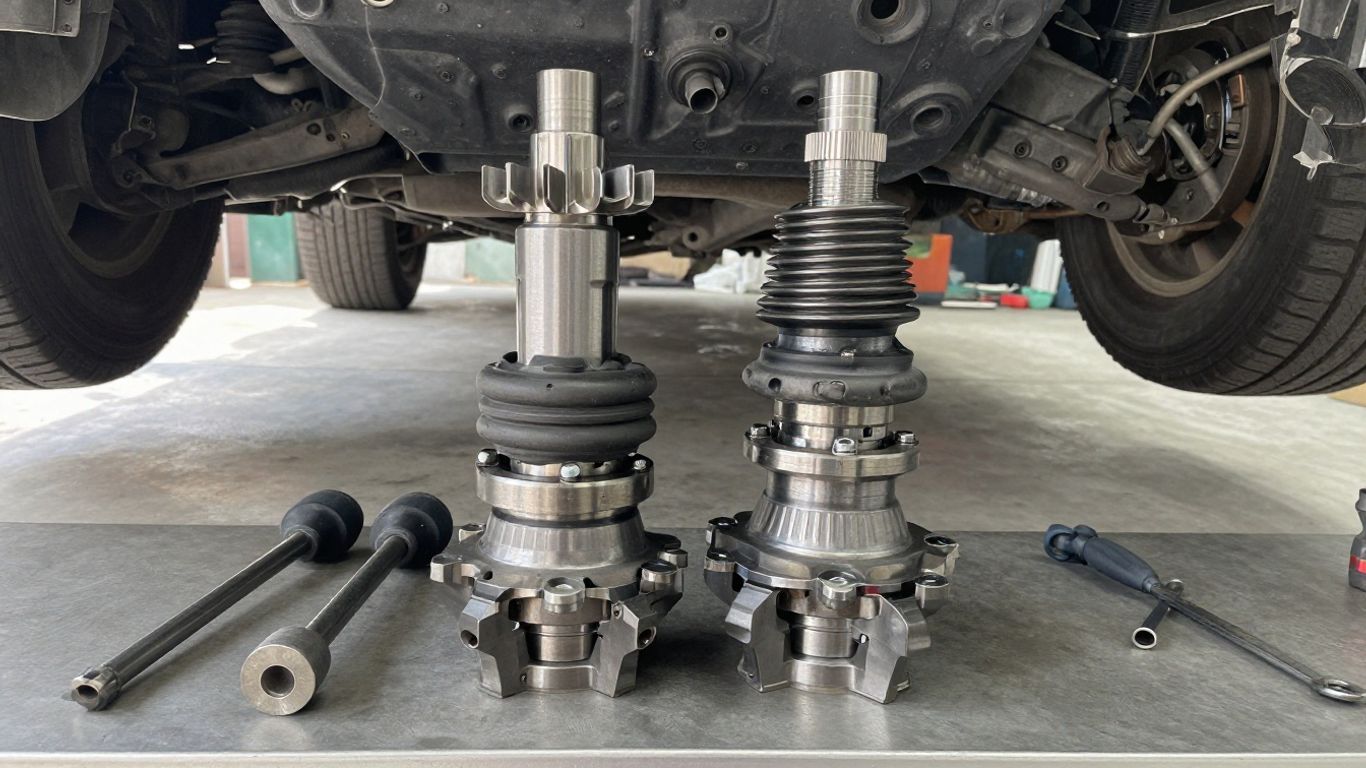
The word “assembly” may refer to more than the bare shaft. It can include inner and outer CV joints, boots, retaining rings, splines, and related hardware, although the exact contents depend on the seller. Confirm those details rather than assuming every listing is packaged the same way.
Differences between front, rear, and complete axle assemblies
Front axle shafts commonly need to accommodate steering angle, so their outer CV joints and boots deserve close attention. Rear assemblies may have a different length, flange arrangement, or connection to the hub and differential. A complete axle assembly can also mean a larger axle housing or differential unit, not simply a replacement half-shaft.
Ask whether the part is a left or right shaft, a complete axle, or a housing with internal components. That wording affects both compatibility and the work required during installation. Photographs can help, but they should support—not replace—the part number and vehicle details.
Common Chery models and applications
Listings may refer to Chery models such as Tiggo, Tiggo4 Pro, or QQ3, but the model name alone is not enough to establish fitment. A single model range can use different shafts across years, engines, transmissions, and markets. Treat model names as a starting point for research rather than a final match.
For example, a Chery Tiggo axle search may return several assemblies, while a Chery Qq3 axle listing can involve different suppliers and specifications. Compare the individual vehicle application and position shown in each listing before contacting a seller.
Matching the assembly to your Chery vehicle
Correct matching is the most valuable part of the buying process. A clean-looking shaft that belongs to a different drivetrain can create installation problems or unsafe operation. Gather your vehicle information first, then compare it with the seller’s catalogue data and photographs.
Using the model year, engine, and trim
Record the exact model year, engine size, transmission type, drivetrain, and trim level. Also note whether the vehicle is left-hand drive or right-hand drive if the parts catalogue uses that distinction. These details can change shaft length, joint design, spline count, and mounting arrangement.
The vehicle identification number is often the most useful reference when a supplier can check it. If the old shaft is still installed, photograph its joints, labels, and flange or hub ends before removal. That evidence gives the seller something more precise than a model name alone.
Comparing OEM and part numbers
Read every number stamped, printed, or moulded on the original component. An OEM number can be more reliable than a broad description such as “front axle,” but numbers may have supersessions or regional variations. Ask the seller to confirm whether the quoted number is an exact match, a replacement number, or only a cross-reference.
A listing for Chery Tiggo4 Pro assemblies, for instance, identifies left and right options alongside OEM numbers 154000282AA and 154000283AA. That kind of detail is useful, but it still needs to be checked against the vehicle and side required. Keep screenshots of the listing and the seller’s confirmation in case the part needs to be returned.
Checking left-hand and right-hand fitment
Left and right shafts are not automatically interchangeable. Their lengths, joint angles, intermediate supports, or transmission connections may differ even when they look similar in a photograph. Confirm the position using the vehicle’s seating perspective and ask whether the seller means the driver or passenger side in their market.
Before ordering, verify the following with the seller:
- Vehicle year, engine, transmission, and trim
- Front or rear position and left- or right-hand side
- OEM or manufacturer part number
- Included nuts, clips, boots, and other hardware
This short confirmation can prevent a costly return and a second period without the vehicle. It is especially useful when a marketplace groups several applications under one generic title.
Inspecting a used axle assembly before purchase
Condition matters as much as compatibility. A used shaft may have spent years exposed to heat, road grit, water, and repeated articulation, even if it looks acceptable in a small listing photograph. Ask for clear images of both joints and the shaft ends, and request testing information where available.
Signs of worn CV joints and boots
Look for split boots, loose clamps, missing grease, and grease thrown around the inside of a wheel or suspension area. A torn boot can allow contamination into the joint, accelerating wear. Clicking during tight turns, clunking under load, or vibration during acceleration may also point to joint damage, although other drivetrain faults can produce similar symptoms.
Surface dirt is not automatically a failure, but hardened rubber, deep cracking, and visible corrosion deserve caution. If the joint has been run without grease, replacing the boot alone may not restore it. Ask whether the assembly was tested before removal and whether the seller can describe any noise or play found.
Checking shafts, splines, flanges, and bearings
Roll the shaft visually and inspect it for bends, dents, heavy rust, or damaged balancing weights. The splines should have defined teeth without severe rounding, while flanges should be flat and free from cracks. Check the bearing or support area for roughness and excessive movement if the design includes one.
The following comparison can help organise a seller’s answers before you decide:
| Inspection area | Acceptable indication | Warning sign |
|---|---|---|
| CV boots | Flexible rubber and secure clamps | Tears, splits, or leaking grease |
| Shaft | Straight tube with intact coating | Bend, dent, or heavy corrosion |
| Splines | Clean, defined teeth | Rounded, chipped, or damaged teeth |
| Flange or joint | Flat mounting face and no cracks | Distortion, cracks, or missing hardware |
A photograph cannot confirm every mechanical condition, so treat the table as a screening guide rather than a guarantee. If the seller cannot show the critical ends of the assembly, price the risk conservatively or continue searching.
Questions to ask about mileage, testing, and damage
Ask how many kilometres or miles the donor vehicle had, why it was dismantled, and whether the assembly was removed from a running vehicle. Find out if the shaft was inspected for play, noise, leaks, or straightness. Also ask whether any accident damage affected the wheel, hub, suspension, transmission, or differential near the part.
Written answers are preferable to vague assurances. A seller who can provide removal details, photographs, and a clear return process gives you more useful information than a listing that only promises “good condition.”
Comparing prices and seller value
The lowest advertised price is not always the lowest repair cost. Delivery, core requirements, missing hardware, return freight, and the likelihood of a second installation can change the final figure. Compare like with like, including the exact side, condition, included components, and warranty terms.
Factors that affect used axle assembly prices
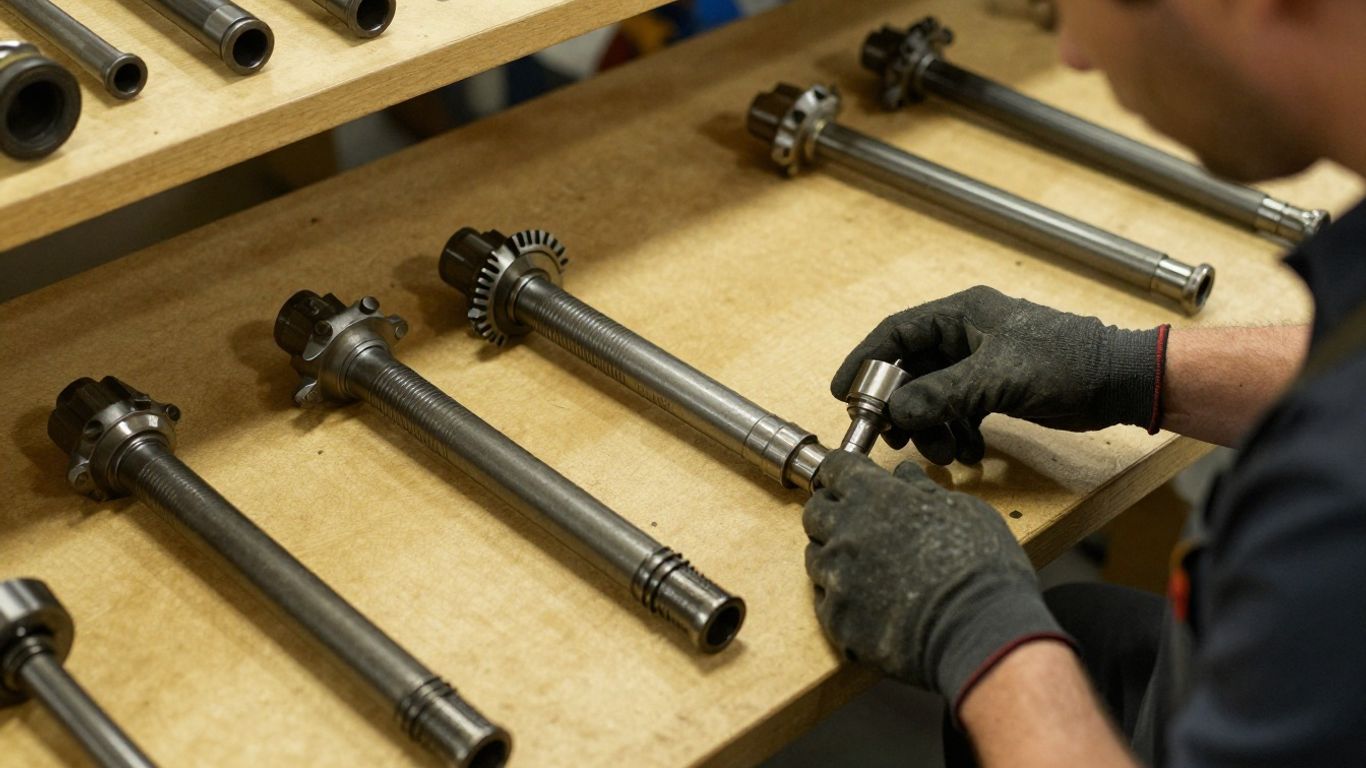
Price usually reflects demand, scarcity, mileage, condition, completeness, and shipping distance. A tested assembly with intact boots may cost more than an untested part, but it may also reduce the chance of paying for labour twice. A rare transmission or model variation can raise prices even when the shaft itself looks ordinary.
When comparing an offer, include:
- The part price and sales tax
- Shipping, packing, and possible core charges
- Return freight and restocking fees
- Included hardware or replacement components
This calculation makes listings easier to compare. It also exposes offers that appear cheap because important costs are shown only at checkout.
Evaluating warranties, return policies, and guarantees
Read the warranty period and exclusions before buying. Some policies cover the part but not labour, diagnostic fees, towing, or damage caused by installation. Check whether the seller requires the part to be installed by a qualified technician and whether the original packaging must be retained.
Confirm the deadline for reporting a problem and the evidence required. A return policy is more useful when it explains how an incorrect fitment or defective joint will be handled, rather than simply displaying a general guarantee. Keep the invoice, correspondence, and photographs of the part as received.
Comparing salvage yards, recyclers, and online marketplaces
Salvage yards and recyclers may provide donor-vehicle information and direct answers about removal, while online marketplaces can make it easier to compare stock across regions. A specialist catalogue may offer clearer part-number searching, but the quality of inspection still depends on the individual seller. Use the sourcing channel that gives you the strongest combination of fitment evidence, condition information, and practical returns.
For broader searches, Chery axle suppliers in Pakistan can illustrate how vehicle details are used to narrow available stock. The point is not to rely on a listing title; it is to compare the evidence attached to each specific assembly.
Preparing for installation
Preparation reduces the chance that a sound replacement is damaged during fitting. Review the workshop procedure for your exact vehicle and identify whether the axle nut, seals, retaining clips, or other fasteners are single-use. Have the replacement inspected beside the old part before dismantling anything.
Tools and replacement parts you may need
Typical work may require a floor jack, properly rated stands, wheel chocks, socket tools, a torque wrench, pry tools, and a suitable axle or hub puller. Depending on the vehicle, you may also need a new axle nut, circlip, transmission seal, hub seal, or differential fluid. Use the service information for the correct torque values rather than estimating them.
Keep a drain pan available if removing the shaft can allow transmission fluid to escape. Clean the mating areas before assembly, but do not force splines or use impacts in a way that could damage threads or seals. A small amount of preparation is usually cheaper than correcting a leak or loose fastener later.
When to replace seals, boots, or axle nuts
Replace a seal if it is leaking, hardened, scratched, or disturbed during removal. A used shaft with an old or cracked boot should not be treated as ready for long-term service simply because the shaft is straight. Axle nuts and some retaining clips are designed for one-time use, so follow the vehicle’s repair instructions.
Compare the replacement with the old component before installation. Check length, spline count, joint profile, boot position, and any support bearing or flange. If one detail differs, stop and confirm fitment rather than trying to make the part fit through force.
Safety precautions for lifting and removing the old assembly
Work on a level surface, chock the wheels, and support the vehicle on stands placed at approved points. Never rely on a jack alone. Wear eye protection when cleaning rust or releasing components, and keep hands clear of pinch points around the hub and suspension.
Do not drive the vehicle until every fastener has been tightened to specification and the brakes, wheel, and underbody areas have been checked. If the shaft is stuck, use the correct puller or a service-approved method instead of striking nearby components indiscriminately.
Verifying performance after installation
A successful installation is more than a shaft that fits into place. The vehicle should operate quietly, remain free of leaks, and maintain predictable behaviour under acceleration and steering. Perform the checks in stages so a small problem is found before it becomes a larger one.
Checking for vibrations, clicking, and leaks
With the vehicle safely assembled, inspect the inner and outer joints, seals, clamps, and transmission area. Look for fresh fluid or grease and listen for abnormal noises during initial movement. A vibration under acceleration may indicate a damaged or incorrect assembly, an installation issue, or another drivetrain problem.
Clicking on turns often points toward a CV joint, while a rumble may involve a bearing or another rotating component. Do not assume every noise comes from the replacement axle. Note when the sound occurs—turning, braking, accelerating, or coasting—to help isolate its source.
Completing a low-speed and road test
Start in a quiet area with gentle forward and reverse movements. Turn gradually in both directions, apply light acceleration, and check that the steering returns normally without binding. Stop and inspect for leaks before moving to a normal road.
A longer road test should build speed progressively and include changes between acceleration and coasting. Pay attention to vibration through the floor or steering wheel, unusual clicks, and changes in handling. The following video placeholder can be useful alongside the vehicle-specific service procedure:
After the test, recheck visible fasteners, boots, and seals. Early inspection is worthwhile because a loose clamp or leaking seal is easier to address immediately than after extended driving.
Knowing when professional inspection is necessary
Seek professional help if the assembly does not match the original, the hub or transmission connection is damaged, or the vehicle develops persistent noise or vibration. A workshop can check runout, fastener torque, wheel alignment, bearing condition, and drivetrain movement with the vehicle safely raised. Professional inspection is also sensible when the original failure may have involved collision damage or a differential problem.
Stop driving if there is severe vibration, rapid fluid loss, steering instability, or a loud repeating knock. Those symptoms can indicate a safety issue beyond the replacement shaft and should be diagnosed before further road use.
Conclusion
Choosing used Chery axle assemblies carefully means treating fitment, condition, seller value, installation, and testing as one decision. Match the part using reliable vehicle and number data, inspect the mechanical details, and leave room in the budget for seals or hardware that should not be reused. A measured check before purchase and a calm road test afterward can turn a used component into a practical repair.
Frequently Asked Questions
Are used Chery axle assemblies worth buying?
They can be worthwhile when the assembly is correctly matched, inspected, and covered by a workable return or warranty policy. The savings should be weighed against condition uncertainty and installation costs.
How do I know which axle fits my vehicle?
Use the model year, engine, transmission, trim, drivetrain, side, and original part number. A vehicle identification number check with the seller is often the safest confirmation.
Should I replace the CV boot on a used axle?
Replace a boot when it is cracked, hardened, torn, or leaking grease. If the joint has already run contaminated or dry, the joint itself may need replacement rather than only a new boot.
Can left and right axle shafts be swapped?
Usually not without confirmed manufacturer compatibility. Length, spline design, joint geometry, and transmission or hub connections may differ between sides.
What noises suggest an axle problem?
Clicking during turns, clunks during load changes, and vibration during acceleration can indicate axle or CV-joint trouble. Other drivetrain and suspension faults can cause similar symptoms, so diagnosis matters.
Are axle nuts reusable after removal?
Some are designed for one-time use, while others may have a specified reuse procedure. Follow the repair information for the exact vehicle and replace the nut when required.
What should I do if the replacement axle leaks after fitting?
Stop and inspect the seal, boot clamps, joint seating, and fluid level. Avoid continued driving until the source is identified, particularly if fluid loss is rapid or the axle is not seated correctly.