

Key Takeaways
A recycled steering part can be a sensible option only when it fits correctly and its condition is clear. Take time to verify the details before buying, and treat installation and alignment as safety-critical work.
- Match the part to the vehicle’s exact model, year, trim, and side.
- Compare part numbers and dimensions rather than relying on appearance alone.
- Reject a tie rod end with looseness, binding, a damaged boot, or compromised threads.
- Check the seller’s inspection details, warranty, and return terms before paying.
- Follow vehicle-specific torque specifications and arrange a wheel alignment after installation.
What recycled Chery tie rod ends are
Recycled Chery tie rod ends are used steering components recovered from vehicles and offered for reuse. Their value depends on more than price: the part must match the vehicle, and its joint, boot, and threaded areas must still be serviceable. A recycled part is not automatically remanufactured or restored, so ask what inspection it has actually received.
How used tie rod ends are recovered and resold
A salvage operation may remove a tie rod end from a vehicle being dismantled, identify it, and assess whether it is suitable for resale. The amount of inspection and documentation varies, so a listing that simply calls a part “tested” may not tell you how it was checked. Ask whether the joint was examined for play and whether the boot and threads were inspected.
A clear record of the donor vehicle and part number makes the listing easier to assess. If those details are missing, ask before ordering rather than assuming that a similar-looking component will fit.
The role of tie rod ends in steering
A tie rod end connects steering linkage to the wheel assembly and allows steering movement while the suspension travels. Wear or damage can affect steering feel and may contribute to looseness, noise, or uneven tyre wear. Because it is part of the steering system, a questionable joint is not a good place to accept uncertainty.
The condition of the joint matters as much as the part’s appearance. A clean exterior cannot prove that the ball joint moves correctly or remains free of excessive play, so inspection should include its movement and protective boot.
Recycled, remanufactured, and new parts compared
These terms describe different histories, not interchangeable guarantees of quality. A recycled component is used; a remanufactured part has been reconditioned according to the seller’s process; a new part has not been previously installed. Confirm what each seller means rather than inferring a particular test or repair from the label.
| Part type | What the label generally indicates | What to verify |
|---|---|---|
| Recycled | Previously used and offered for reuse | Wear, inspection details, and return terms |
| Remanufactured | Reconditioned under a stated process | What was replaced or tested |
| New | Not previously installed | Correct application and supplied hardware |
The comparison is a starting point, not a substitute for checking fitment and condition. A well-documented used part may be worth considering, but reject one if the seller cannot answer basic questions about its history or inspection.
How to check compatibility with your Chery
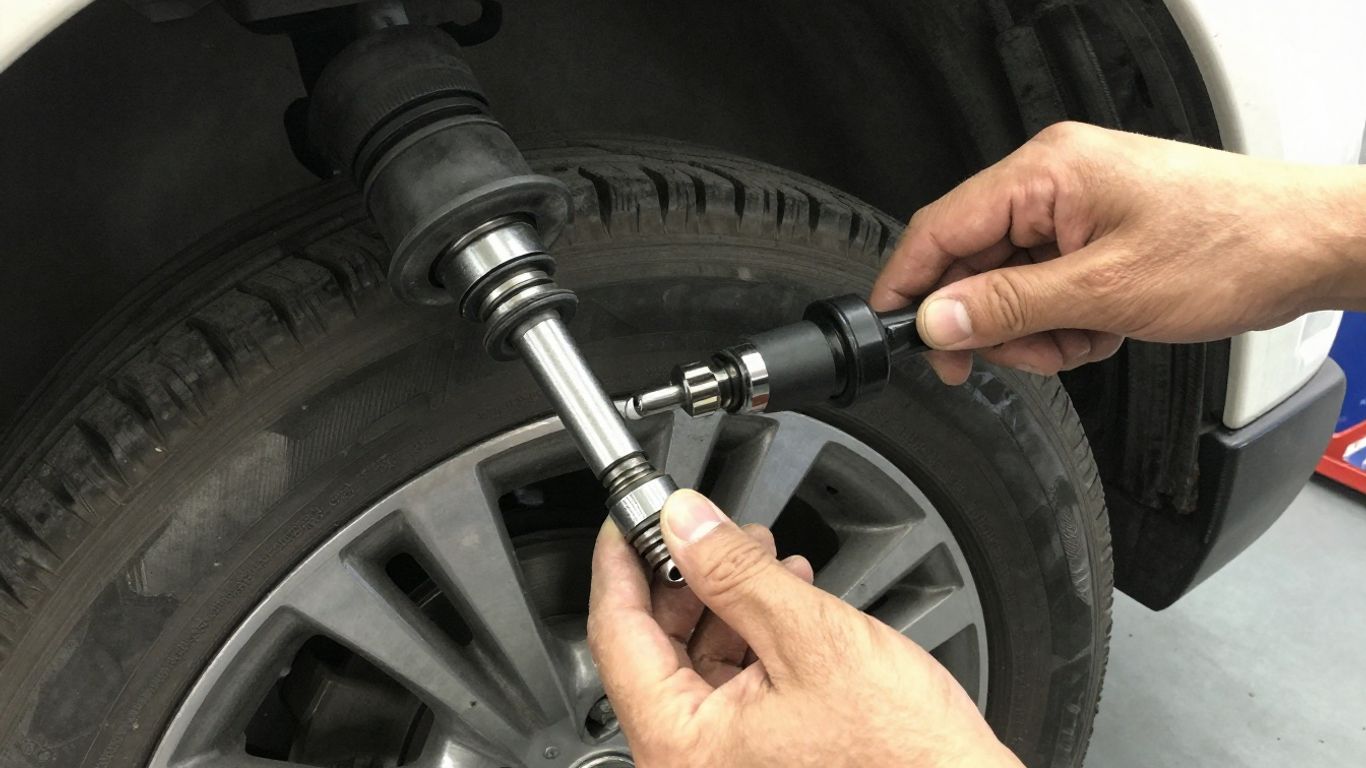
Fitment should be confirmed before purchase, not guessed from a photo or a broad model label. Record the vehicle’s model, year, trim, and any relevant market or build details, then match those against the part information. Steering parts can differ across versions, even when vehicles share a model name.
Match the part to the model, year, and trim
Start with the vehicle identification details and a parts catalog or reliable seller lookup. A model name alone may cover multiple configurations, so include the build year and trim when asking for a match. If you are checking related steering components too, a steering rack listing is a reminder that nearby parts in the steering system are separate components and should not be mistaken for a tie rod end.
Write down the details before contacting a seller. This reduces the chance of comparing a correct part for one version with a similar-looking part for another.
Verify left- and right-side fitment
Do not assume that the left and right parts are interchangeable. Confirm which side the listing covers, and ask whether the part is sold individually or as a pair. If both sides need attention, check each part’s application separately rather than ordering two based on one fitment description.
Compare part numbers and dimensions
A matching part number is useful evidence, but it should still be checked against the vehicle application. Compare the thread size and direction, stud dimensions, overall shape, and any other measurements the catalog or seller provides. Small differences can prevent correct installation or create a poor fit.
Confirm fitment with the seller or a parts catalog
Before paying, send the seller the full vehicle details and ask for written confirmation of the application. If a part number is available, request that they verify it against a catalog rather than relying only on visual similarity. Keep the confirmation and listing details in case a return is needed.
How to assess a used tie rod end’s condition
A careful inspection looks at movement, sealing, metal surfaces, and the quality of the seller’s information. Photos can help screen a part, but they cannot always reveal looseness or binding inside the joint. When possible, inspect it in person or ask for a clear account of how it was checked.
Inspect the ball joint for looseness or binding
Move the joint through its range by hand and feel for smooth, controlled movement. It should not have obvious free play, rough spots, or a tight point that suggests binding. If the joint feels inconsistent or the seller cannot demonstrate that it moves properly, choose another part.
A brief demonstration is only one part of the assessment. If there is any doubt about the joint’s condition, have a qualified mechanic inspect it before installation.
Check the boot for cracks, tears, and grease loss
The boot keeps dirt and moisture away from the joint and helps retain lubricant. Look closely for splits, punctures, loose edges, or grease around the boot and joint. Damage here can expose the joint to contamination, so a torn or missing boot is a serious reason to pass on the part.
A photograph may hide small cracks, especially around folds. Ask for close, well-lit images from several angles if you are buying remotely.
Look for corrosion, impact damage, or altered threads
Inspect the housing and stud for heavy corrosion, bends, gouges, or signs of a hard impact. Check the threads for flattening, cross-threading, or other damage that could prevent secure installation. A part that has been cleaned or painted deserves a closer look if the finish obscures the metal surface.
Use a simple sequence so a detail is not missed:
- Examine the joint housing for cracks, bends, and impact marks.
- Check the stud and threaded section for corrosion or deformation.
- Look around the boot for tears, grease, and loose edges.
- Move the joint gently to feel for play, roughness, or binding.
Taken together, these checks provide a more useful picture than appearance alone. Do not try to compensate for a damaged thread or questionable joint by forcing installation.
Ask about inspection standards and return terms
Ask the seller what “inspected” means in practice: which parts were checked, whether joint movement was assessed, and whether the boot and threads were examined. Confirm how long you have to return an unsuitable part and whether the policy covers a part that proves faulty after inspection. The same habit of checking credentials, risks, and follow-up appears in a Melbourne skin clinic guide, though the subject is different; the useful point here is to ask clear questions before committing.
If you are not satisfied with the answers, do not let a low price make the decision for you. Reliable documentation and a fair return process matter when the part affects steering.
Where to source recycled Chery tie rod ends
Potential sources include vehicle dismantlers, specialist recyclers, and online sellers. Compare not only the advertised price but also the amount of fitment information, condition detail, and support offered if the part is wrong. Recycled Chery tie rod ends should come with enough information for you to make a reasoned decision before they are shipped.
Compare salvage yards, recyclers, and online sellers
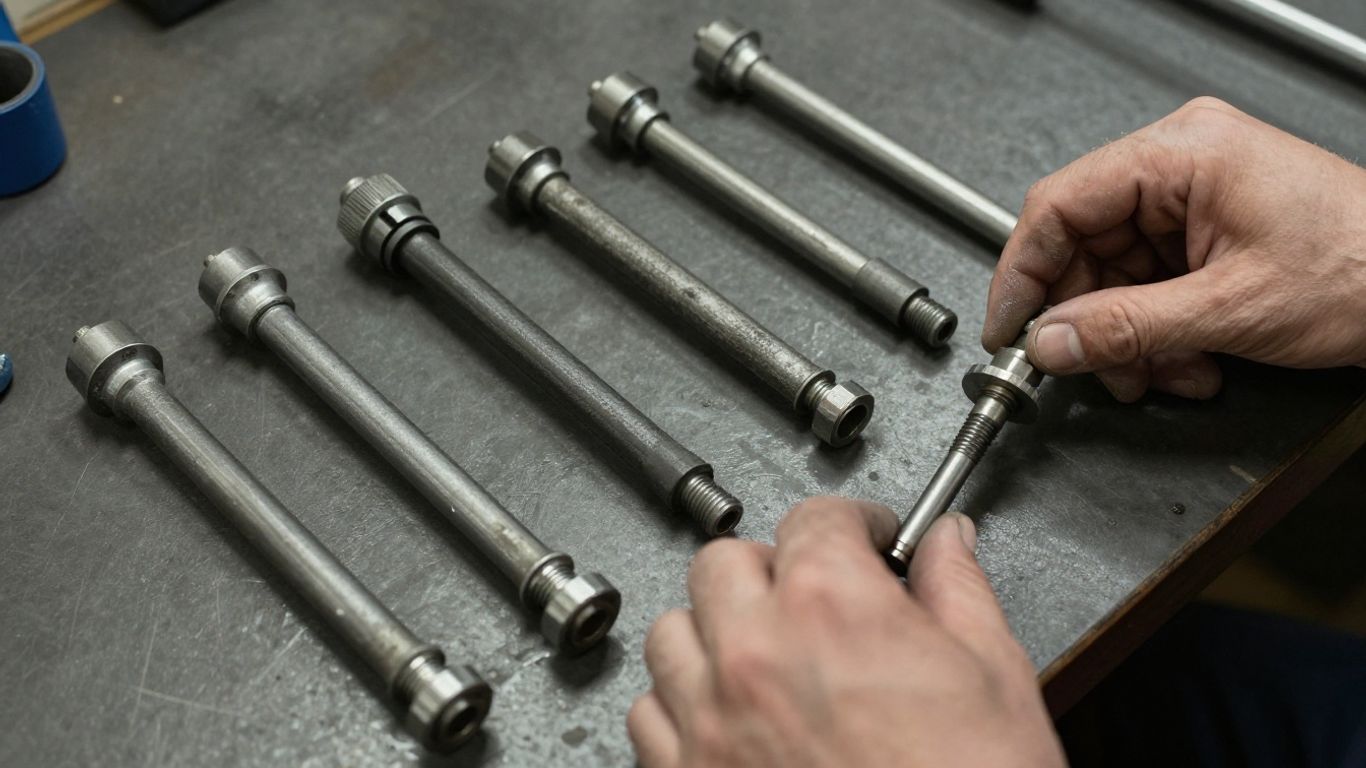
A local dismantler may let you inspect a part directly, while an online listing may offer a wider selection but relies more heavily on accurate photos and descriptions. Ask how the part is identified and what happens if it does not match the confirmed application. A scooter buying guide also recommends checking condition and records before purchasing a used vehicle; for a car part, the parallel is to verify its own identity and condition rather than buying on appearance.
The best source is the one that can answer specific questions and explain its return terms. A low advertised price is less useful if shipping, delays, or a difficult return make the final cost higher.
Request clear photos and a documented part number
Ask for close images of the joint, boot, stud, and threads, plus a photo that helps identify the whole component. Request the part number in writing and confirm whether it is legible and matches the listing. If the seller cannot provide basic identification, treat that as a reason to pause.
Check warranty coverage and return policies
Read the terms before ordering, including the return window, any restocking or shipping charges, and what evidence is required for a claim. Ask whether the warranty covers only incorrect fitment or also a defect discovered after installation. A review of NordVPN discusses checking terms before subscribing to a service; here, the practical lesson is simply to read the actual conditions before making a purchase.
Do not assume “warranty included” means every situation is covered. Save the listing, written fitment confirmation, and receipt so the agreed terms are easy to refer to.
Factor in shipping, taxes, and installation costs
The part price is only one part of the total. Add delivery, applicable taxes, any required hardware, inspection, installation, and wheel alignment to compare options fairly. A used part that needs extra work may not be the lower-cost choice once those items are included.
If the seller is far away, confirm the dispatch timeline and packaging method as well. Steering components should arrive protected from damage, with the part identification still available for checking.
How to replace a Chery tie rod end
Replacement involves a steering connection, so use the vehicle’s service information and the correct tools rather than relying on a generic sequence alone. If you are not experienced with this work, ask a qualified mechanic to carry it out. A poor installation can affect steering and tyre wear, even when the replacement part itself is sound.
Prepare the vehicle and tools safely
Park on a level surface, secure the vehicle, and use suitable lifting equipment and stands at the manufacturer-approved points. Wear eye protection and have the correct sockets, separators, and torque tools ready. Never work beneath a vehicle supported only by a jack.
Check the service procedure before loosening anything. It may specify a particular removal method, replacement fastener, or tightening sequence for the exact vehicle.
Record the old tie rod’s position before removal
Before removing the old part, note its orientation and count the exposed threads or turns as it is separated. These observations can help place the replacement near the original adjustment, but they do not establish correct wheel alignment. Keep track of any washers or locking features and compare the old and replacement parts before fitting.
If the dimensions or threaded portions differ unexpectedly, stop and verify fitment rather than trying to make the parts work together.
Install the replacement without damaging the boot
Thread the replacement carefully and avoid gripping or twisting the boot with tools. Make sure the joint seats as directed and that the boot is not pinched, torn, or stretched. Use new locking hardware where the service information calls for it.
A related discussion of back surgery alternatives concerns a very different topic, but it likewise describes decisions guided by evaluation rather than guesswork. For a steering repair, rely on the correct procedure and inspection, not improvisation.
Tighten fasteners to the vehicle’s specified torque
Use the torque values specified for the exact vehicle and fastener. Do not substitute a value from a different model or rely on “tight enough” by feel. If the procedure calls for a new nut or a particular locking method, follow that instruction and confirm the fastener is seated correctly.
Once assembled, check that tools are clear and the wheel and surrounding parts are properly secured. The initial position is only a temporary reference; an alignment check is still needed.
What to check after installation
A replacement is not complete just because the fasteners are tight and the vehicle moves. Verify steering operation, arrange an alignment, and pay attention to changes in response or noise. If anything feels wrong, stop driving and have the installation inspected.
Arrange a wheel alignment
Have the vehicle’s wheel alignment checked after replacing a tie rod end. The old position can help approximate the prior adjustment, but it cannot ensure the alignment is correct. Proper alignment helps avoid steering pull and unnecessary tyre wear.
Test steering response at low speed
Begin with a cautious test in a clear, low-speed area. Check that the steering moves smoothly and returns as expected, and listen for new knocks or other unusual sounds. Avoid high speeds or busy roads until the repair and alignment have been checked.
Watch for uneven tire wear or steering pull
Over the following days, notice whether the vehicle pulls to one side or the steering wheel sits off-centre. Look for uneven tyre wear as well; it can take time to become visible, so it is not a substitute for an alignment check. Mention any new symptoms to the mechanic promptly.
Recheck for looseness, noise, or other warning signs
Pay attention to vibration, clunks, looseness, or a change in steering feel. If warning signs appear, do not keep driving in the hope that they will settle. Arrange an inspection, and have the fasteners and surrounding steering components checked according to the service procedure.
Conclusion
A recycled tie rod end can be considered when its fitment is confirmed, its condition is carefully assessed, and the seller provides clear terms. Take the same care during installation, then arrange a wheel alignment and respond promptly to any change in steering feel. With a safety-critical part, a clear match and a sound inspection matter more than a bargain label.
Frequently Asked Questions
Are recycled tie rod ends safe to use?
They may be suitable when correctly matched and confirmed to be in serviceable condition, but the label alone does not establish safety. Check joint movement, the boot, threads, inspection details, and return terms.
How can I tell whether a tie rod end fits my vehicle?
Match the exact model, year, trim, and side, then confirm the part number and relevant dimensions using a parts catalog or the seller. Do not rely on visual similarity alone.
Should I replace one tie rod end or both?
That depends on the condition of each side and the vehicle’s service guidance. Have both sides inspected and ask a qualified mechanic whether replacing one or both is appropriate.
Can I install a tie rod end at home?
A capable home mechanic may be able to do the work with the correct tools, safe lifting equipment, and vehicle-specific service information. If any step or fitment detail is uncertain, use a qualified mechanic.
Is counting the threads enough to set the alignment?
No. Counting turns or noting the old position can help approximate the previous adjustment, but it cannot confirm correct alignment. Arrange a wheel alignment after replacement.
What signs suggest a used tie rod end should be rejected?
Reject one with noticeable looseness or binding, a torn or missing boot, grease loss, heavy corrosion, impact damage, or compromised threads. Unclear inspection details are another reason to choose a better-documented part.
What should I check after the replacement is installed?
Confirm that steering response feels normal at low speed, arrange an alignment, and watch for pulling, noise, looseness, vibration, or uneven tyre wear. Stop driving and seek an inspection if anything seems wrong.