
Key Takeaways
A used Chery CV joint can be a sensible repair option when its identity and condition are clear. Careful inspection, correct fitment, and professional installation matter more than a low asking price.
- Confirm the exact vehicle, drivetrain, and replacement-part specifications.
- Inspect boots, grease, splines, cages, races, and signs of impact.
- Compare used parts with remanufactured and new alternatives.
- Ask for mileage, vehicle history, measurements, photos, and return terms.
- Test the repair carefully and monitor the joint after installation.
Understanding Chery CV joints and their role in the drivetrain
A constant-velocity, or CV, joint transfers engine and transmission power to a driven wheel while allowing the suspension and steering to move. The joint must keep rotating smoothly as the axle changes angle, especially during turns and suspension travel. That combination of torque and movement is why a small damaged component can create noticeable noise or vibration. Understanding the layout makes it easier to judge a replacement rather than buying on appearance alone.
How CV joints transfer power while allowing wheel movement
A CV joint uses precision-machined tracks, balls, a cage, and a housing to transmit rotation through a changing angle. The inner and outer sections move relative to one another without the speed fluctuations associated with a simple universal joint. Grease reduces friction, while a flexible boot keeps abrasive dirt and water away from the working surfaces. Once the boot fails, wear can progress quickly even if the joint still feels acceptable by hand.
Inner versus outer CV joints
The inner joint sits closer to the transmission and generally accommodates changes in axle length as the suspension moves. The outer joint is nearer the wheel hub and must work through steering angles, so it is often associated with clicking during tight turns. They may look similar in a listing photograph, but their dimensions, spline arrangements, and mounting details can differ. Confirm which position is required before discussing price or delivery.
Common Chery models and drivetrain configurations
Chery vehicles use different engines, transmissions, axle layouts, and production updates, so the model badge alone is not enough for reliable identification. A front-wheel-drive car may use two front half-shafts with inner and outer joints, while another configuration can have different axle lengths or connection styles. Registration details, VIN information, and the original component provide a stronger starting point than a generic model search. A general explanation of CV joint function can also help when comparing front-drive components.
Symptoms of a worn or damaged CV joint
Clicking that becomes louder on a tight turn often points toward an outer joint, while clunks or shuddering under acceleration may involve the inner joint or another driveline component. A torn boot, flung grease, vibration, or looseness is another reason to inspect the axle promptly. These symptoms are not conclusive by themselves because wheel bearings, mounts, tires, and differential parts can produce similar sensations. Diagnosis should include the whole axle and its surrounding hardware.
Confirming the correct replacement part
Correct identification is the most valuable step when shopping for used Chery CV joints. Several parts can appear interchangeable while differing in spline count, shaft length, ABS provisions, or transmission connection. Start with the vehicle records and compare them with the removed part before committing to a listing. Fitment comes before price because a cheap part that cannot be installed is not a saving.
Matching the Chery model, year, engine, and transmission
Record the exact model year, engine displacement, transmission type, drive layout, and side of the vehicle. Mid-year changes and regional specifications can affect axle dimensions even when the exterior badge remains unchanged. If possible, provide the VIN and photographs of the old joint to the seller. Do not assume that a part from a similar-looking vehicle will have the same inner connection or hub spline.
Comparing OEM and aftermarket part numbers
An OEM number can be a useful reference, but it should be checked against the vehicle application and the physical part. Aftermarket catalog numbers may cross-reference an original number without being identical in construction or included hardware. For example, a listing for a used OEM CV joint identifies OEM number 220301220 for a Chery 1.6 TX application, but that reference still needs to match the buyer’s own vehicle details. Keep a record of every number shown in the listing and ask the seller to confirm the cross-reference.
Checking spline counts, dimensions, and fitment details
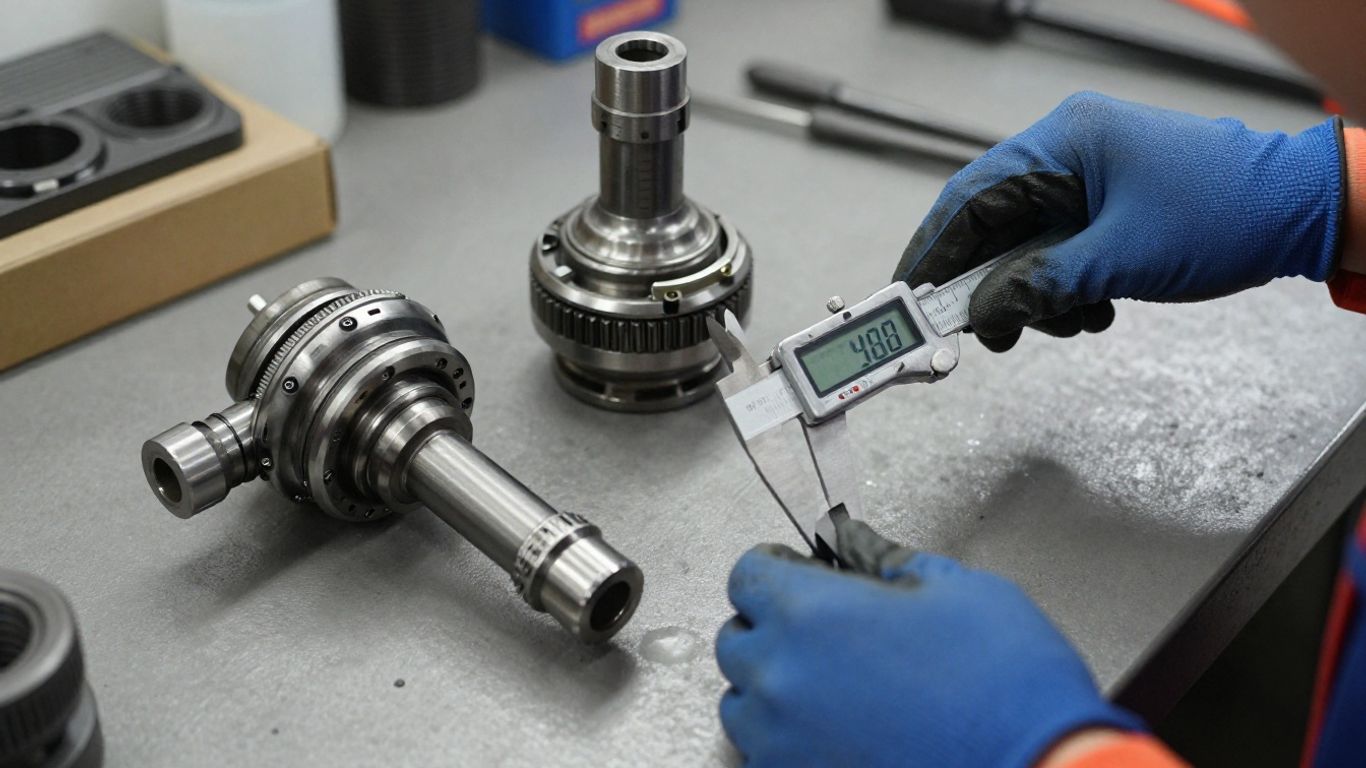
Count the splines at the wheel and transmission ends when practical, then compare shaft length, thread size, seal diameter, and circlip or retaining-ring arrangement. Measurements taken from the original part are especially helpful when catalog information is incomplete. Ask whether the listed length is measured compressed, extended, or from a particular reference point. A table can make the comparison less prone to overlooked details:
| Check | Original part | Used listing | Result |
|---|---|---|---|
| Inner spline count | Record | Confirm | Match or investigate |
| Outer spline count | Record | Confirm | Match or investigate |
| Overall length | Measure | Ask seller | Compare method |
| Retaining hardware | Inspect | Confirm included parts | Replace if absent |
After comparing the rows, resolve any mismatch before purchase rather than hoping the installer can adapt the part. Small differences at either end can prevent proper seating or create seal and alignment problems.
Distinguishing a CV joint from a complete drive shaft
A replacement CV joint is normally the joint assembly or one of its serviceable components, while a complete drive shaft or half-shaft includes the shaft and may include inner and outer joints, boots, and hardware. The terms are sometimes used loosely in online listings. A clear guide to CV joints and drive shafts can help clarify the structural difference. Ask exactly what is included, including nuts, circlips, boots, clamps, and grease.
Inspecting used Chery CV joints before purchase
A used joint deserves the same careful attention as any other precision driveline component. Surface dirt can hide grease loss, corrosion, or damaged tracks, and a polished appearance does not prove low wear. Request clear images from several angles and ask what inspection was actually performed. If the seller cannot identify the source vehicle or explain the condition, treat that uncertainty as part of the cost.
Evaluating boots, clamps, and signs of grease loss
The boot should be flexible, intact, and free from splits around its folds and mounting edges. Clamps should sit securely without cutting into the rubber, and the joint should not show a wide spray pattern of dried grease. A replacement boot is possible, but grease that has escaped may have allowed grit into the joint. Ask whether the boot is original, replaced, or merely cleaned before the photograph was taken.
Checking bearing surfaces, cages, and races
If the joint can be opened for inspection, examine the balls, cage windows, grooves, and housing tracks for pitting or abnormal wear. Smooth discoloration may be acceptable on an older part, whereas deep grooves, ridges, flaking, or rough movement are warning signs. Rotate the joint slowly through its range and feel for notches rather than forcing it. A seller who cannot open the unit should at least describe how it was tested.
Looking for rust, scoring, cracks, and impact damage
Rust on exposed splines may be cosmetic, but heavy corrosion around the working surfaces or seal area is more serious. Look for cracks in the housing, peening at the edges, bent splines, deep scoring, and marks suggesting the part was struck during removal. Ask for close-ups of areas hidden by the boot. Damage at a mounting face can create runout or prevent the joint from seating correctly.
Assessing whether the joint has been cleaned or refurbished
Cleaning can improve visibility, but it can also remove evidence of grease contamination and wear. Refurbishment should be described specifically: cleaning alone is different from replacing bearing elements, polishing tracks, installing a boot, and testing the assembly. Ask for a list of replaced parts and whether the joint was measured after service. A neat finish is useful only when it is supported by a credible process.
Weighing the benefits and risks of used CV joints
The appeal of a used joint is straightforward: it may cost less and can provide a practical answer for an older vehicle or a repair with a limited budget. The trade-off is that its remaining service life is uncertain unless its history and condition are well documented. Compare the total cost, including shipping, seals, grease, labor, and the inconvenience of another repair. The right choice depends on risk tolerance as much as the initial price.
When a used joint can offer good value
A used part can make sense when it comes from a known vehicle, has clear identification, shows no working-surface damage, and is backed by a reasonable return policy. It may also suit a less-used vehicle where a new assembly is disproportionately expensive or difficult to source. Value improves when the part arrives complete with the correct boot and retaining hardware. Even then, have the installer compare it with the original before fitting.
How mileage and vehicle age affect reliability
Mileage is a useful clue, not a guarantee. A high-mileage vehicle may have a joint that was replaced previously, while a low-mileage vehicle could have suffered boot damage, water exposure, or an impact. Vehicle age also increases the likelihood that rubber boots and seals have hardened. Ask about the donor vehicle’s mileage, accident history, operating conditions, and reason for dismantling.
Comparing used, remanufactured, and new alternatives
Used parts generally offer the least predictable remaining life, while remanufactured units may include renewed wear components and new sealing parts. New units usually provide the clearest condition baseline, but availability, quality, and price still vary. Compare warranty length, included hardware, labor implications, and return shipping rather than looking only at the part price. A sound used joint may be appropriate, but it should not be presented as equivalent to a verified new component.
Recognizing parts that are too worn to justify buying
Walk away from a joint with deep race grooves, rough or seized movement, cracked metal, badly rusted splines, missing identification, or unexplained play. The same applies when the seller refuses basic measurements or offers only distant, heavily edited photographs. Do not buy a visibly damaged part simply because a boot kit might cover the evidence. The cost of installation makes uncertain wear especially expensive.
Buying used Chery CV joints from a reliable source
A reliable transaction begins with specific questions and written answers. Sellers who regularly handle dismantled parts should be able to identify the donor vehicle, the removed position, and the components included. Their photographs should show the actual item rather than a generic catalog image. For broader sourcing research, a Chery CV joint sourcing guide may provide useful terminology, but individual seller claims still need checking.
Questions to ask about vehicle history and mileage
Ask for the donor VIN or at least its exact model, year, engine, transmission, and mileage where disclosure is permitted. Find out whether the vehicle was running before dismantling and whether the joint was removed because of an accident, drivetrain fault, or routine replacement. Ask how long the part was stored and whether it was exposed to moisture. These answers help separate a documented used component from an unidentified one.
Reviewing photos, measurements, and identification markings
Request photographs of both ends, the boot area, splines, seal surface, housing, and any stamped or cast markings. Measurements should include the features that determine installation, not just the overall length. Compare the images with your original part and ask for a photograph beside a ruler if scale is unclear. Save the listing and messages so the agreed specification is documented.
Checking return policies, warranties, and seller reputation
Read the return conditions before paying, especially exclusions for incorrect fitment or parts installed before a claim is made. Check whether the seller offers a tested-part warranty and whether labor costs are excluded. Reviews can reveal packaging and communication problems, but they do not replace inspection of the specific joint. A clear compatibility promise, such as the one stated on some listings, should still be confirmed in writing for your vehicle.
Understanding shipping, packaging, and international sourcing concerns
CV joints are heavy, greasy, and vulnerable to knocks, so they should be wrapped against contamination and packed to protect splines and machined surfaces. International orders may involve customs charges, longer returns, different terminology, and limited recourse if the part is wrong. Confirm the shipping method, declared contents, delivery estimate, and responsibility for damage before ordering. Keep the packaging until fitment has been verified.
Installing and testing a used Chery CV joint
Installation should follow the vehicle’s service information, not a generic online sequence. The axle connects rotating, load-bearing, and sealing components, so incorrect assembly can damage the replacement or create a safety problem. If the joint is being installed by a technician, provide the part details and ask them to compare it with the removed assembly. Do not install a questionable part merely because the vehicle is already disassembled.
Preparing the axle and related components
Clean the work area before opening the joint and inspect the axle shaft, transmission seal area, hub splines, wheel bearing, and suspension components. Replace damaged mating hardware rather than trying to compensate for it during assembly. Check that the shaft is not bent and that the transmission-side connection is free of burrs. Protect exposed joints from dirt while the work is underway.
Replacing seals, boots, clamps, and retaining rings when needed
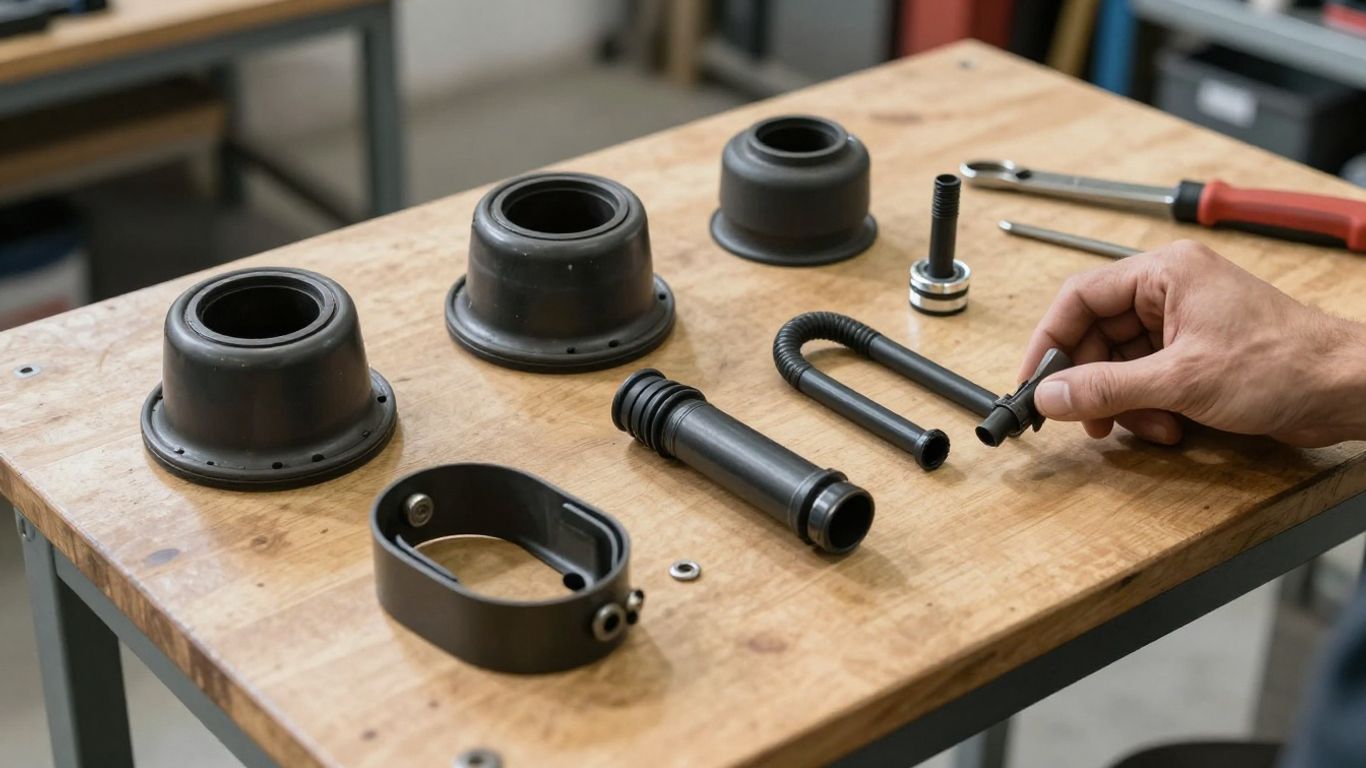
A used joint may be serviceable while its boot, clamp, seal, or retaining ring is not. Replace any hardened, torn, stretched, or contaminated rubber before final assembly. Use the correct ring and make sure it seats fully in its groove; an incorrectly seated ring can allow the joint to pull out. Confirm that clamps are tight without deforming the boot or restricting its movement.
Using the correct grease, torque specifications, and tools
Use grease specified for the joint and apply the correct quantity rather than filling the boot indiscriminately. Follow the vehicle’s torque specifications for axle nuts, flange fasteners, and suspension hardware, using a calibrated torque wrench where required. Suitable circlip pliers, boot-clamp tools, and pullers reduce the chance of damaging precision surfaces. Avoid hammering directly on splines or threaded ends.
Performing a road test and checking for vibration or clicking
After installation, check for leaks, loose fasteners, boot interference, and full steering and suspension movement before driving. Begin with a slow inspection drive, then listen during turns, acceleration, deceleration, and reversing. A vibration that rises with speed may point to balance, runout, wheel, or axle issues rather than the joint alone. The embedded CV joint installation video can supplement, but not replace, the vehicle-specific service procedure.
Once the road test is complete, recheck the area for displaced grease or a loose clamp. A short follow-up inspection after the first few drives can catch problems before they become expensive.
Maintaining a used Chery CV joint after installation
Maintenance is mostly about protecting the boot and noticing changes early. A joint that starts in good condition can still fail if a boot rubs against a suspension part or a clamp loosens. Include the axle in routine oil-change or service inspections, particularly on an older vehicle. Simple observations can prevent a small seal problem from becoming internal bearing damage.
Inspecting the boot and clamps during routine service
Look for splits, pinholes, flattened folds, loose clamps, and grease on nearby suspension or wheel components. Inspect both inner and outer boots because the less visible inner boot can be overlooked. Check after driving on rough roads or through debris where the rubber may have been struck. Early boot replacement is usually less involved than replacing a contaminated joint.
Preventing contamination and premature grease loss
Keep the joint capped or covered whenever the axle is removed, and clean tools before they contact fresh grease. Do not wash grease out with unsuitable solvents or reuse contaminated lubricant. Avoid twisting the boot beyond its normal range during maintenance. Correct clamp tension and careful routing help preserve the seal over time.
Identifying early signs of installation or alignment problems
New clicking, vibration, clunking, grease loss, or a boot that twists unusually soon after installation deserves prompt attention. Recheck fastener torque, retaining-ring seating, axle alignment, wheel-bearing condition, and suspension geometry. A noise that changes with steering angle may differ from one that follows road speed. Finding the source early prevents unnecessary replacement of otherwise usable parts.
Knowing when replacement is safer than continued repair
Replacement is usually safer when the joint has deep track wear, persistent play, cracked metal, repeated boot failure, or noise that remains after correct assembly. Repacking a worn joint cannot restore damaged races or cages. If diagnosis is uncertain, have a qualified technician inspect the assembly before further driving. The goal is dependable power transfer, not simply extending the life of a part that has already shown structural damage.
Conclusion
Used Chery CV joints can be worthwhile when identification, inspection, condition, and seller terms are all transparent. Compare the part with the original, budget for seals and professional installation, and treat unexplained wear as a reason to pause. A careful decision before purchase is far less costly than removing an unsuitable joint after installation.
Frequently Asked Questions
Can a used CV joint be reliable?
It can be, provided its application is confirmed and its working surfaces, boot, splines, and housing are in good condition. Remaining service life is uncertain, so a return policy and careful inspection are valuable.
How do I know whether I need an inner or outer joint?
The inner joint is near the transmission and the outer joint is near the wheel hub. Symptoms and physical inspection can help, but the axle layout and service information should determine the exact replacement.
What information should I give a seller?
Provide the model year, engine, transmission, drive layout, VIN when appropriate, side of the vehicle, and photographs or measurements of the original part. Include spline and length information if available.
Is a complete drive shaft the same as a CV joint?
No. A complete drive shaft may include the shaft, one or both CV joints, boots, and hardware, while a CV joint is an individual joint assembly or service component.
Should I replace the boot on a used joint?
Replace it if it is cracked, hardened, damaged, or contaminated. A fresh boot and correct grease cannot repair internal wear, so inspect the joint before deciding to reuse it.
What causes clicking after installation?
Clicking can result from a worn joint, incorrect fitment, damaged splines, improper assembly, or a boot and clamp problem. Recheck the installation and have other steering and suspension components inspected.
When should I choose a new part instead?
Choose a new or properly remanufactured unit when the used part has unknown history, visible working-surface damage, excessive play, poor identification, or no practical return protection. The added cost may be justified by reduced installation risk.